
UI
Studio Pro activities > Web Automation > UI. Includes "Get element property", "Get element value", "Set element value" and more.
Activities
| Get element property | Set element property | Get element value |
|---|---|---|
| Reads attributes of a specified element | Sets a certain property of the specified element | Reads the value attribute or the text between tags |
| Set element value | Element found? | Wait for element |
| Sets the 'value' attribute of the specified element | Checks whether the element exists | Wait until the element is loaded |
| Wait for vanishing | ||
| Waits for web element to disappear for specified amount of time |
Get element property
Description
This activity reads attributes of a specified element in the browser opened via Studio Pro.
Parameters
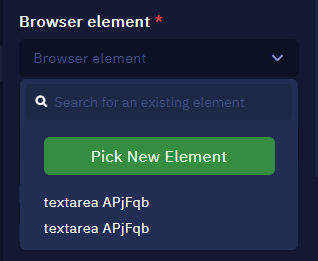
Browser Element
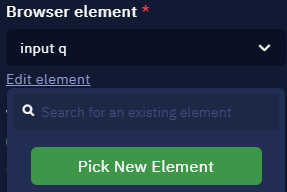
The Browser element is the main parameter here. It defines the used browser element. To set up a new element, open the dropdown menu here and click ‘Pick New Element’. If there is an existing element, it will be present in the list and it will be possible to choose it.
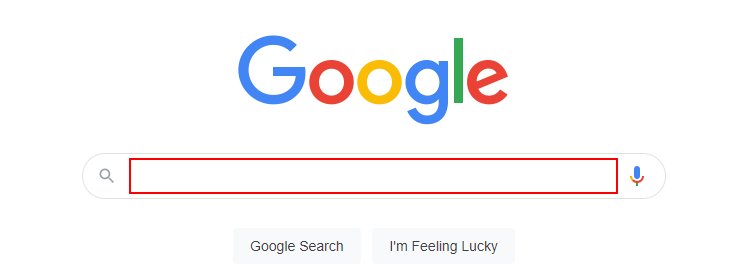
The browser window opens. Hover your cursor over the desired element. If it is recognized, it will be highlighted in red. Press Ctrl + X while hovering over the element to pick it. Esc key closes Browser Picker without choosing any elements.


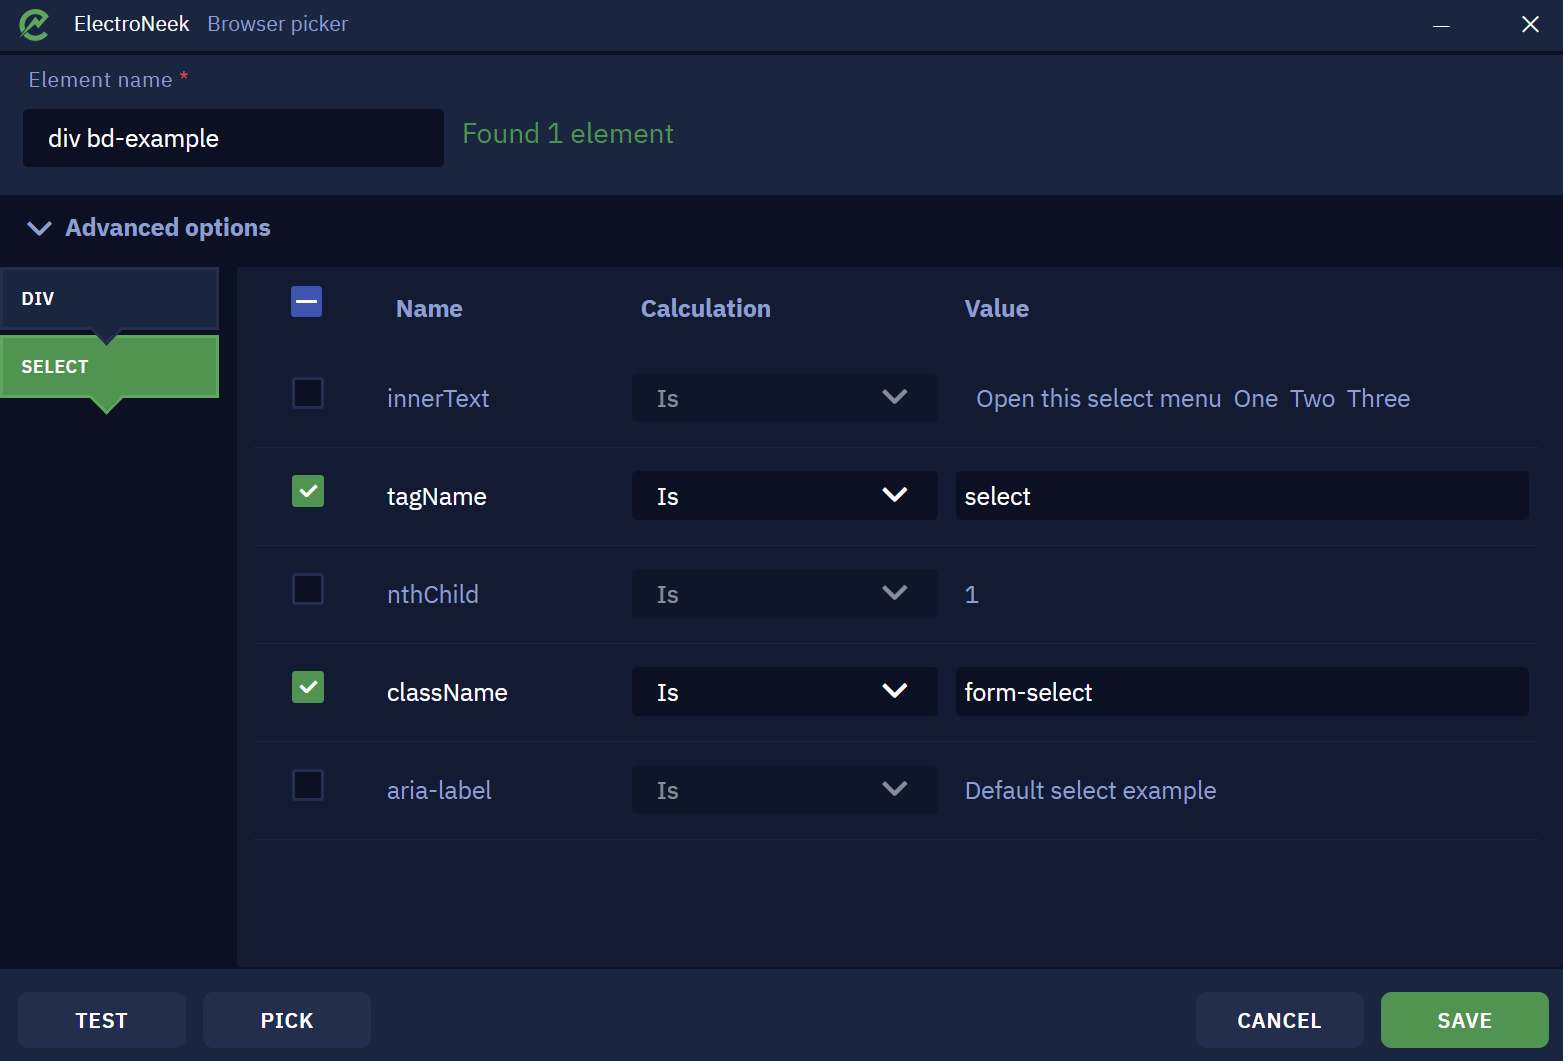
As soon as the element is picked, the Browser Picker window appears confirming the element was found and recognized. You can also set an "Element name" here to be displayed in Studio Pro later on.
In the Browser Picker window, it is also possible to view the advanced options by opening the dropdown menu. These "Advanced options" represent the chosen element as a table. It contains the properties and values that belong to this element. Edit these values in the table by checking and unchecking the options and defining values for Calculation and Values.
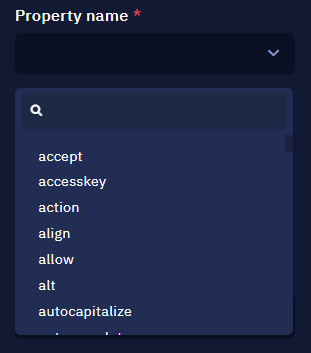
Property Name
This field enables you to select the attribute name to extract its value. For example Id,Name,ClassName,Typeand other attributes.
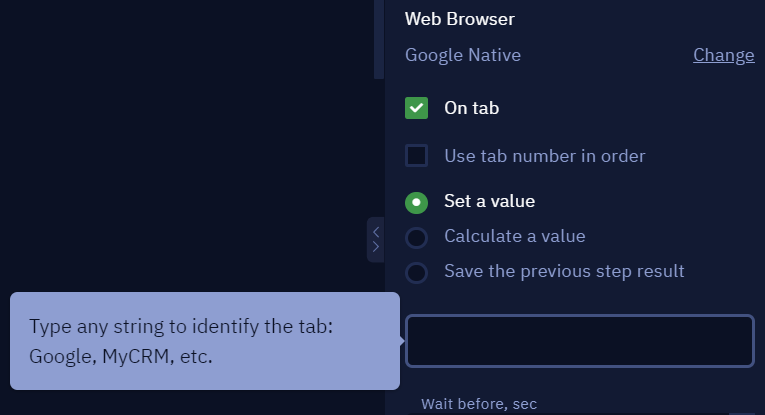
On tab
This parameter allows you to specify the name of the tab that you want the bot to interact with.

- Set a value allows you to manually specify the name of the tab.
- Calculate a value allows you to use a special formula or a special method to determine the name of the tab.
- Save the previous step result takes the result of the previous workflow action as the name of the tab.
Use tab name in order
This checkbox allows you to specify a sequential number of a tab in the browser. It is worth using if a new tab opens not manually, but automatically after clicking on some element.


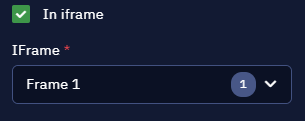
In iframe
This parameter allows you to select a specific iframe on a given page where the action is to be executed.
Several elements
With this option selected, the program will return an array of strings with property values of all elements corresponding to the specified selector.
Wait before, sec, and Wait after, sec
These parameters indicate how much time will pass before or after executing this activity.
Comment
Contains an annotation of the activity. The input text will be displayed above the activity name.
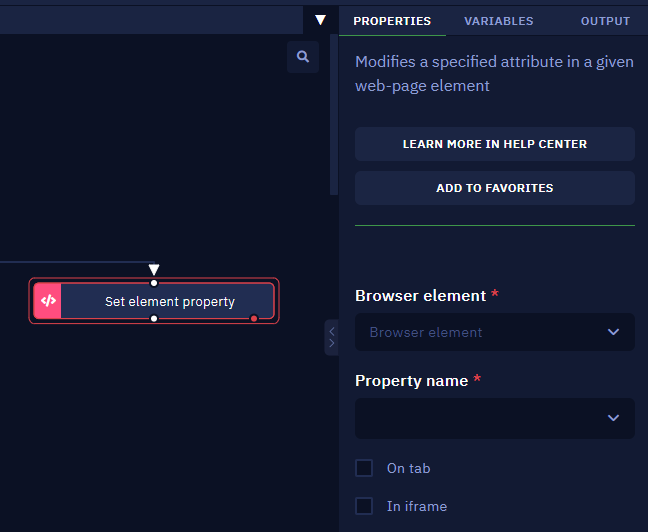
Set element property
Description
Sets the property of the specified element in the browser opened via Studio Pro.
Parameters
- Choose the desired browser element for the property change.
- Select the property you wish to modify.
- Set the new value for the selected property.
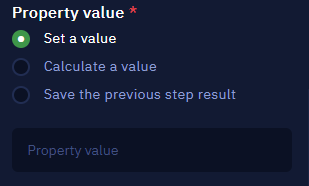
- Set a value allows you to manually specify the property value.
- Calculate a value allows you to use a special formula or a special method to determine the property value.
- Save the previous step result takes the result of the previous workflow action as the property value.
Get element value
Description
This activity reads the value attribute or the text between tags of the specified element in the browser opened via ElectroNeek Studio Pro.
Parameters
Browser Element
The Browser element is the main parameter here. It defines the used browser element. To set up a new element, open the dropdown menu here and click ‘Pick New Element’. If there is an existing element, it will be present in the list and it will be possible to choose it.
The browser window opens. Hover your cursor over the desired element. If it is recognized, it will be highlighted in red. Press Ctrl + X while hovering over the element to pick it. Esc key closes Browser Picker without choosing any elements.


As soon as the element is picked, the Browser Picker window appears confirming the element was found and recognized. You can also set an "Element name" here to be displayed in Studio Pro later on.
In the Browser Picker window, it is also possible to view the advanced options by opening the dropdown menu. These "Advanced options" represent the chosen element as a table. It contains the properties and values that belong to this element. Edit these values in the table by checking and unchecking the options and defining values for Calculation and Values.

On tab
This parameter allows you to specify the name of the tab that you want the bot to interact with. The name of the tab is assigned in the "Open URL" activity.

- Set a value allows you to manually specify the name of the tab.
- Calculate a value allows you to use a special formula or a special method to determine the name of the tab.
- Save the previous step result takes the result of the previous workflow action as the name of the tab.
Use tab name in order
This checkbox allows you to specify a sequential number of a tab in the browser. It is worth using if a new tab opens not manually, but automatically after clicking on some element.

In iframe
This parameter allows you to select a specific iframe on a given page where the action is to be executed.

Several elements
With this option selected, the program will return an array of strings with property values of all elements corresponding to the specified selector.
Wait before, sec, and Wait after, sec
These parameters indicate how much time will pass before or after executing this activity.
Comment
Contains an annotation of the activity. The input text will be displayed above the activity name.
Set element value
Description
Sets the 'value' attribute of the specified element in the browser opened via Studio Pro.
Parameters
The 'Attributes', 'CSS Selector' and 'XPath' sections enables you to identify the element to interact with. One of the above three methods needs to be chosen in order to set the element selector.
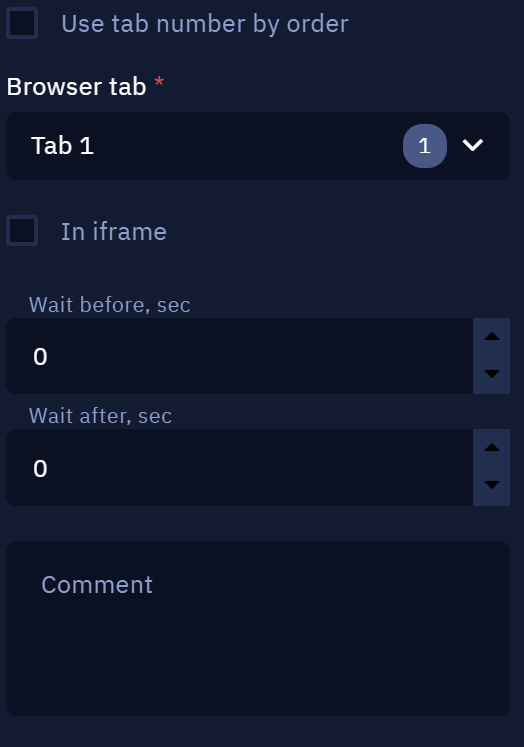
Browser tabs
This activity allows you to select the desired browser elements using the "Browser picker".
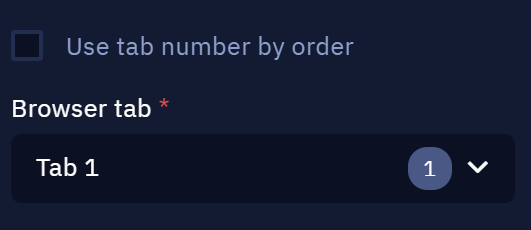
The tab selection parameter offers two options: specify the tab number manually or use the "Use tab number by order" checkbox.
Specifying the tab number manually allows you to designate the selected tab independently from the other tabs. That is, if tab "2" is selected in the option and other tabs are actually opened in the browser before it (i.e. the tab becomes, for example, the third one), the activity will be executed in this tab anyway.
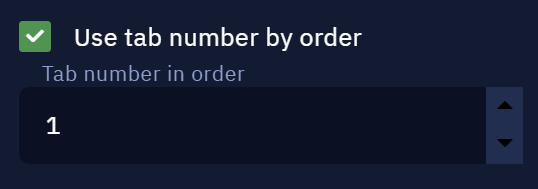
The "Use tab number by order" checkbox denotes the tab strictly by the order of the actually opened tabs in the browser. That is, in a similar case (when the desired tab is actually the third), the Browser Picker will work exactly with the second tab of the browser.
On tab
This parameter allows you to specify the name of the tab that you want the bot to interact with. The name of the tab is assigned in the "Open URL" activity.

- Set a value allows you to manually specify the name of the tab.
- Calculate a value allows you to use a special formula or a special method to determine the name of the tab.
- Save the previous step result takes the result of the previous workflow action as the name of the tab.
Use tab name in order
This checkbox allows you to specify a sequential number of a tab in the browser. It is worth using if a new tab opens not manually, but automatically after clicking on some element.
Class name
- Set a value: enables you to directly write a string with the value of the
classattribute of the html-code of the corresponding element, for example,search-input. - Save the previous step result: chooses the previous activity result as the class name.
- Calculate a value: enables you to use available properties and methods to form the class.
Id
- Set a value: enables you to directly write a string with the value of the id attribute of the html-code of the corresponding element, for example,
hiddenLanguageInput. - Save the previous step result: chooses the previous activity result as the id.
- Calculate a value: enables you to use available properties and methods to form the id.
Field name
- Set a value: enables you to directly write a string with the value of the
nameattribute of the html-code of the corresponding element, for example,search. - Save the previous step result: chooses the previous activity result as the name.
- Calculate a value: enables you to use available properties and methods to form the name.
Tag name
- Set a value: enables you to directly write a string with the tag name of the html-code of the corresponding element, for example,
div. - Save the previous step result: chooses the previous activity result as the tag name.
- Calculate a value: enables you to use available properties and methods to form the tag name.
CSS Selector
- Set a value: enables you to directly write a CSS-selector string of the specified element, for example,
input[name='btnK']. - Save the previous step result: chooses the previous activity result as the CSS-selector.
- Calculate a value: enables you to use available properties and methods to form the CSS-selector.
XPath
- Set a value: enables you to directly write a string which is the selector of the specified element in the XPath form, for example,
//*[@id="rso"]/div[1]/div/div[2]/div/div/div[1]/a. - Save the previous step result: chooses the previous activity result as the XPath expression.
- Calculate a value: enables you to use available properties and methods to form the XPath expression.
Use tab number by order
Allows to specify the iframe tab number manually.
Browser tab
The browser tab number with the desired element. Up to five tabs inclusive can be used in an workflow.
Comment
Contains an annotation to the block. The input text will be displayed inside the block above the function name.
Usage Examples
This activity should be used in case you need to input some data into fields. For example, this may be a search field in an online search engine or fields to enter a login and a password.
Element found?
Description
Checks whether the specified element in the browser opened via Studio Pro exists. The 'Yes' branch is executed if the element exists. Otherwise, the robot will follow the 'No' branch.
Parameters
Browser Element
The Browser element is the main parameter here. It defines the used browser element. To set up a new element, open the dropdown menu here and click ‘Pick New Element’. If there is an existing element, it will be present in the list and it will be possible to choose it.
The browser window opens. Hover your cursor over the desired element. If it is recognized, it will be highlighted in red. Press Ctrl + X while hovering over the element to pick it. Esc key closes Browser Picker without choosing any elements.


As soon as the element is picked, the Browser Picker window appears confirming the element was found and recognized. You can also set an "Element name" here to be displayed in Studio Pro later on.
In the Browser Picker window, it is also possible to view the advanced options by opening the dropdown menu. These "Advanced options" represent the chosen element as a table. It contains the properties and values that belong to this element. Edit these values in the table by checking and unchecking the options and defining values for Calculation and Values.

On tab
This parameter allows you to specify the name of the tab that you want the bot to interact with.

- Set a value allows you to manually specify the name of the tab.
- Calculate a value allows you to use a special formula or a special method to determine the name of the tab.
- Save the previous step result takes the result of the previous workflow action as the name of the tab.
Use tab name in order
This checkbox allows you to specify a sequential number of a tab in the browser. It is worth using if a new tab opens not manually, but automatically after clicking on some element.

In iframe
This parameter allows you to select a specific iframe on a given page where the action is to be executed.

Wait before, sec, and Wait after, sec
These parameters indicate how much time will pass before or after executing this activity.
Comment
Contains an annotation of the activity. The input text will be displayed above the activity name.
Wait for element
Description
This activity waits until the specified browser element is loaded and then executes some actions based on whether it appeared or not.
In this example we open a page (google.com), wait until the search string element is loaded and then input some text into it.
You can read more about the other mentioned activities here.

Browser Picker
First of all, we need to define the browser element that will be used here. In this example this is Google search string. This can be done in Studio Pro using Browser Picker. Let us take a look at how it works. Browser element is the main parameter here. It defines the used browser element. To set up a new element, open the dropdown menu here and click ‘Pick New Element’. If there is an existing element, it will be present in the list and it will be possible to choose it.
Browser window will be opened. Hover your cursor over the desired element. If it is recognized, it will be highlighted red. Press Ctrl + X while hovering over the element to pick it. Esc key closes Browser Picker without choosing any elements.
As soon as the element is picked, this window will appear. It indicates that the element was found and recognized. You can also set the element name here. It will be displayed in Studio Pro.It is also possible to view the advanced options by opening the dropdown menu. Advanced options represent the chosen element as a table. It contains the properties and values of this element. This table can be modified in case it is required to refine or correct the element.
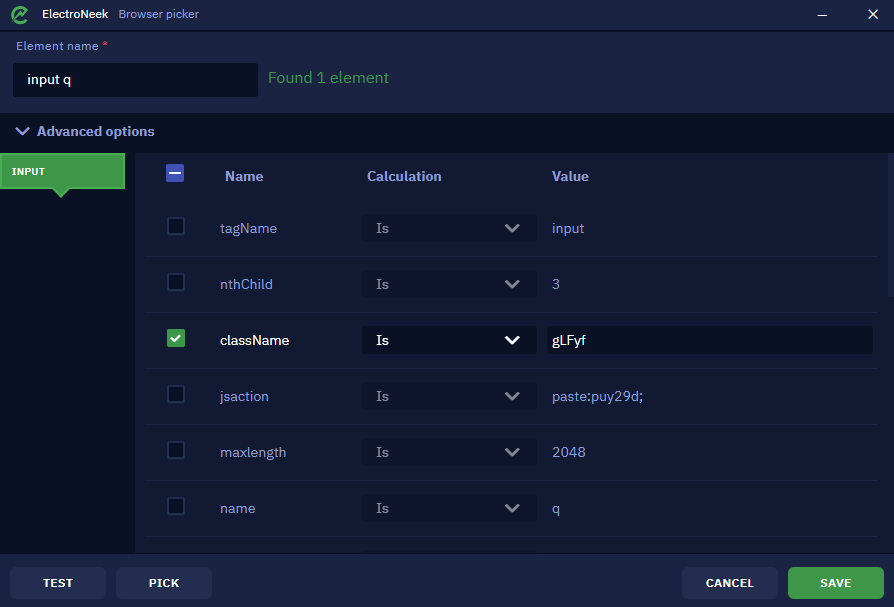
The ‘Test’ button lets you check if the element was defined correctly. Upon clicking it, focus will be shifted to the browser window and the picked element will be highlighted yellow if it was recognized correctly. It can display one of the following messages:* Found 1 element means that the specific element was successfully recognized.
- Found 1 element means that the specific element was successfully recognized.
- Found >1 element means that there are a few similar elements. In this case it is required to repick the element or modify the selector.
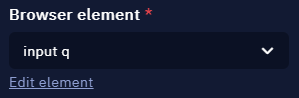
- Not found means that the element was not recognized and must be redefined or the advanced options must be corrected.The ‘Pick’ button lets you pick another element or pick the element once again. Click ‘Save’ once you are ready. This element will be saved for further usage in Studio Pro activities.It is also possible to edit an existing element that you have previously picked. To do this, click the ‘Edit element’ button below its name.
Parameters
We have just described the Browser element parameter. Now let us move to the other ones.The next parameter is Waiting time, sec. The program will wait for the element to appear within this time. If the element appeared and was recognized successfully, then the Yes branch of the activity is executed. If not, the No branch will be executed.

And these are the rest of the parameters.
Browser tabs
This activity allows you to select the desired browser elements using the "Browser picker".
On tab
This parameter allows you to specify the name of the tab that you want the bot to interact with. The name of the tab is assigned in the "Open URL" activity.

- Set a value allows you to manually specify the name of the tab.
- Calculate a value allows you to use a special formula or a special method to determine the name of the tab.
- Save the previous step result takes the result of the previous workflow action as the name of the tab.
Use tab name in order
This checkbox allows you to specify a sequential number of a tab in the browser. It is worth using if a new tab opens not manually, but automatically after clicking on some element.
The tab selection parameter offers two options: specify the tab number manually or use the "Use tab number by order" checkbox.
Specifying the tab number manually allows you to designate the selected tab independently from the other tabs. That is, if tab "2" is selected in the option and other tabs are actually opened in the browser before it (i.e. the tab becomes, for example, the third one), the activity will be executed in this tab anyway.
The "Use tab number by order" checkbox denotes the tab strictly by the order of the actually opened tabs in the browser. That is, in a similar case (when the desired tab is actually the third), the Browser Picker will work exactly with the second tab of the browser.
It is also possible to click an element in IFrame. Check this parameter if you would like to use this feature. Once it is checked, IFrame parameter will appear. In this specific case this parameter will be required.

Wait before, sec and Wait after, sec parameters indicate how much time will pass before or after executing this activity.
Wait for vanishing
Description
Waits for web element to disappear for specified amount of time. If the web element disappears within waiting time, then the 'Yes' branch is executed. Else the 'No' branch continues.
Parameters
Browser tabs
This activity allows you to select the desired browser elements using the "Browser picker".
The tab selection parameter offers two options: specify the tab number manually or use the "Use tab number by order" checkbox.
Specifying the tab number manually allows you to designate the selected tab independently from the other tabs. That is, if tab "2" is selected in the option and other tabs are actually opened in the browser before it (i.e. the tab becomes, for example, the third one), the activity will be executed in this tab anyway.
The "Use tab number by order" checkbox denotes the tab strictly by the order of the actually opened tabs in the browser. That is, in a similar case (when the desired tab is actually the third), the Browser Picker will work exactly with the second tab of the browser.
- Browser element: select an element from a list or create new one.
- Waiting time, sec: amount of time in seconds to wait for the element to disappear.
- Browser tab: select browser tab to interact with.
- Use tab number by order: check to select browser tabs by order.
- In iframe: check to search for element in iframe.
- The Wait before, sec and Wait after, sec parameters indicate how much time will pass before or after executing this activity.
On tab
This parameter allows you to specify the name of the tab that you want the bot to interact with. The name of the tab is assigned in the "Open URL" activity.
- Set a value allows you to manually specify the name of the tab.
- Calculate a value allows you to use a special formula or a special method to determine the name of the tab.
- Save the previous step result takes the result of the previous workflow action as the name of the tab.
Use tab name in order
This checkbox allows you to specify a sequential number of a tab in the browser. It is worth using if a new tab opens not manually, but automatically after clicking on some element.
Usage Examples
This activity is a good option in case you need to wait for a certain element to disappear fro mthe screen - for example, when closing a pop-up window, you can wait for it to disappear before proceding with your workflow.
Updated about 1 year ago