
Dates and Time
Activities
| Get current date | Calculate date | Calculate difference |
|---|---|---|
| Get the current date according to the system time | Calculates a date and time using given date and a delta | Calculates the difference between two dates |
| Export to format | Time trigger | |
| Convert date and time into a specific format | Execute further steps of the workflow when a certain time arrives |
Get current date
Description
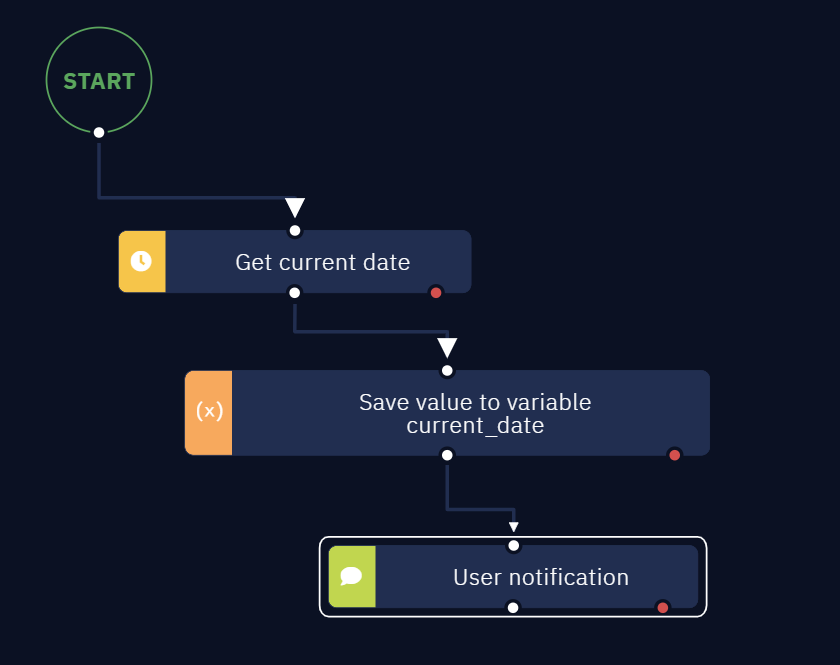
This activity gets the current date according to the system time. By default it saves it to a variable. This means that an 'Assign value to variable' activity block connected to the 'Get current date' you have placed will also appear in the canvas. The date will be saved in it.
It is also important to mention that such variables format is Date, not String or anything else.
This activity is quite simple to use and does not have any parameters. Let us illustrate it. In this example we displayed the current date using 'User notification' activity.
At the beginning of the output there is the date (year - month - day format), and then the time in 24h format.
Since this is more of a 'technical' date representation, we recommend you to check this article which explains how to convert it into more convenient formats: Export to format.

Calculate date
Description
Calculates a date and time using given date and a delta.
Parameters
Date
- Set a value: set a date manually.
- Save the previous step result: take the previous activity result as a date.
- Calculate a value: use JS to calculate a date.
NoteWhen using the "Save the previous step result" and "Calculate a value" options, you must enter the date according to
RFC 2822andISO 8601standards. According toRFC 2822, there are many date entry options, such as10 Jun 2021.ISO 8601also supports multiple date formats, such asYYYY-MM-DDthat is2021-06-10, which also stands forJune 10, 2021.
Action
Choose an action to perform on a date: add or subtract.
Time unit
Choose time unit: year, month, day, hour, minute, second.
Value
- Set a value: set a value that is used in calculation.
- Save the previous step result: take the previous activity result as a value.
- Calculate a value: use JS to calculate a value.
Usage Examples
The best example is processing the messages that have been received in last 7 days. Get current date, subtract 7 days and compare the result date with message's received date.
Calculate difference
Description
Calculates the difference between two dates.
Parameters
Initial date
- Set a value: set the initial date manually.
- Save the previous step result: take the previous activity result as a date.
- Calculate a value: use JS to calculate a date.
Date to subtract
- Set a value: set a date manually.
- Save the previous step result: take the previous activity result as a date.
- Calculate a value: use JS to calculate a date.
NoteWhen using the "Save the previous step result" and "Calculate a value" options, you must enter the date according to
RFC 2822andISO 8601standards. According toRFC 2822, there are many date entry options, such as10 Jun 2021.ISO 8601also supports multiple date formats, such asYYYY-MM-DDthat is2021-06-10, which also stands forJune 10, 2021.
Usage Examples
This activity helps to answer the question "How old is this document?" Set the current date as 'initial date', set the document date as 'date to subtract' and calculate the difference.
Export to format
Description
This activity is used to convert date and time into a specific format. This can either be used with the date returned by other activities or with a manually set date and time.
When this activity is added to the workflow, an Assign value to variable activity block connected to it is automatically added. It stores the output result. Hence, it is convenient to use the output in other activities by choosing the Save the previous step result option.
It is important that the output of this activity is String, not Date.
Export to format is suitable in some business scenarios when we need to fill reports (for example) or do some other tasks where we have to present the date in a specific form. So you can just pick up the output and input it to a certain form, field, text file, etc.
It also simplifies interaction with dates because it does not require writing any additional code using the Date object — which is possible in case you need it, though.
ImportantBear in mind that Studio Pro follows the GTM (UTC+0) instead of adjusting to your local time zone. That means "Export to format" uses this time as a reference.
Parameters
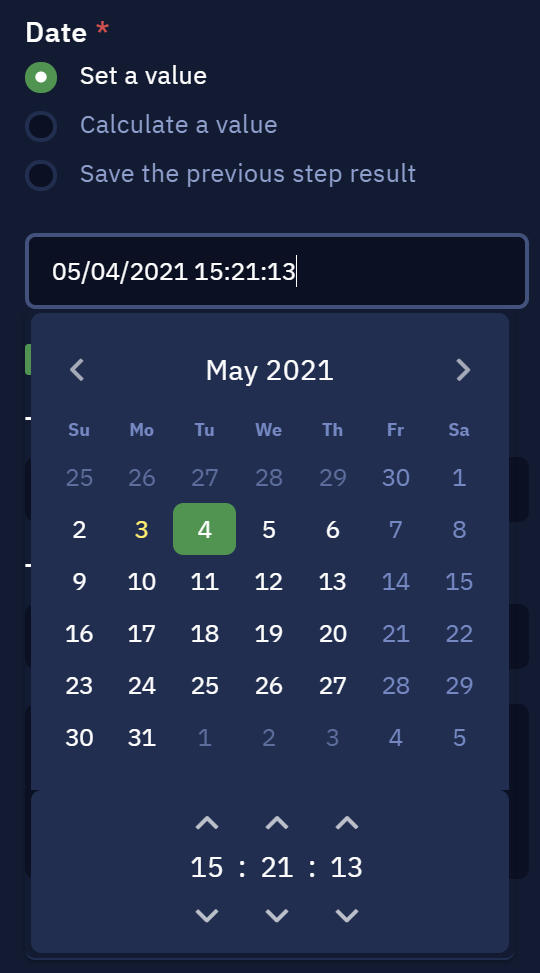
The first parameter here is Date. It is required. There are a few ways to set it.
Set a value option either lets you input the date and time manually or use the calendar to choose the date and time. It opens upon clicking the input field.
Much like in a lot of other activities, you can also use Calculate a value to set the date dynamically using JavaScript or Save the previous step result option. As we have already mentioned, this one is especially useful in conjunction with 'Assign value to variable' activity.
NoteWhen using the "Save the previous step result" and "Calculate a value" options, you must enter the date according to
RFC 2822andISO 8601standards. According toRFC 2822, there are many date entry options, such as10 Jun 2021.ISO 8601also supports multiple date formats, such asYYYY-MM-DDthat is2021-06-10, which also stands forJune 10, 2021.
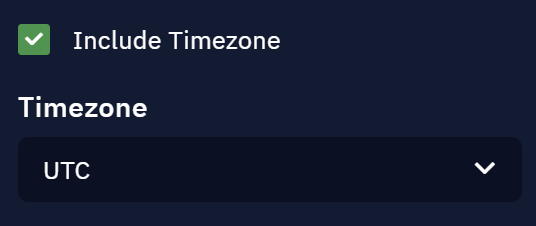
The next parameter is Include Timezone. When it is turned on, you will see the dropdown list containing the UTC time zones. It will be added to the output.
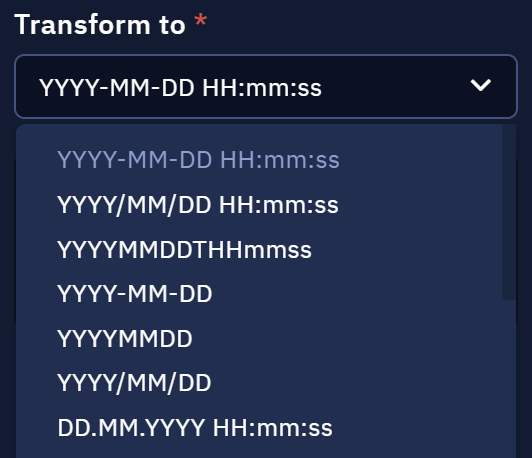
And the last parameter is Transform to. This is a required one. It defines the format of the output date and time. There are a lot of different formats in this dropdown list.
Results
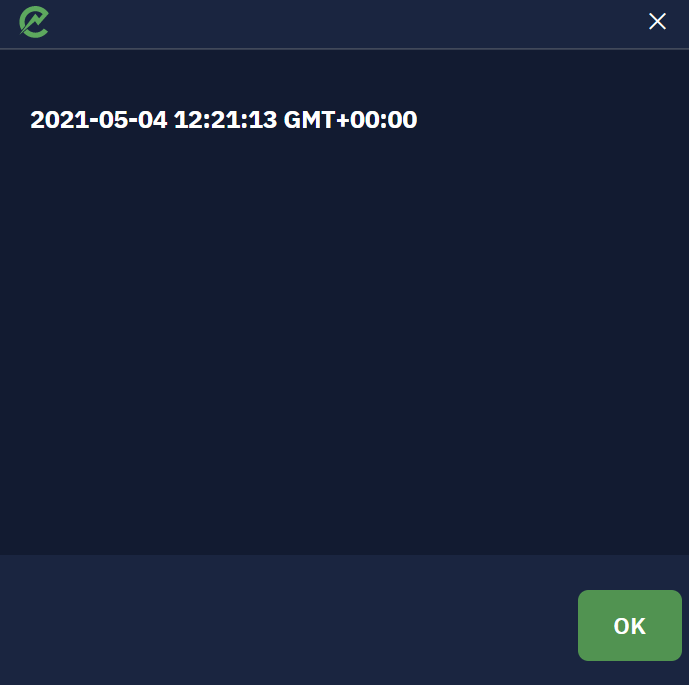
Now let us take a look at how the output could look like. In this example we chose the YYYY-MM-DD HH:mm:ss format, checked the Include Timezone option and displayed the result using 'User notification' activity.

Time trigger
Description
Time trigger starts executing further steps of the workflow when a certain time arrives. Functioning of the time trigger requires a launched workflow. Once the Time trigger activity is reached, the bot will wait for the specified time to come. When the time comes, the bot will execute the rest of the workflow.
Parameters
Trigger type
- Hourly: Specify the number of minutes at which the trigger will go off every hour.
- Daily: Specify your local time at which the trigger will go off every day.
- Weekly: Specify the local time and the day of the week. The trigger will go off on the specified day at the specified time.
Comment
This parameter allows you to create an annotation to the activity. The input text will be displayed above the activity name.
How to use it?
One of the typical use cases is a bot required to run periodically at the specified time. Such a scenario lets you set up the workflow and the Time trigger, export the bot, so it is compatible with the Bot Runner application, and run the bot. The bot will wait for the specified time to come and execute the required steps.