
Others
Studio Pro activities > Programming. Includes "Execute JS code" and "Execute Python".
Activities
| Execute JS code | Execute Python |
|---|---|
| Run JavaScript code in Studio Pro | Run Python code in Studio Pro |
Execute JS code
Description
This activity is used to run JavaScript code. It can be used for a wide variety of tasks such as maths operations, data processing, and others.
You can use the following libraries with this activity: 'lodash', 'moment', 'mustache'.
A few notes about variables usage: the variables initialized within the Execute JS code activity are local which means they can not be accessed outside. However, the variables created using the 'Assign value to variable' activity are global and can be used and modified in the Execute JS code activity.
We also have support for these JavaScript libraries: lodash, momentjs, mustache. In order to call them, you need to use the reserved commands:
let newArr = _.cloneDeep(arr), //making a deep clone of an array through lodash
let today = moment(), //getting the current date through momentjs
let output = mustache.render("{{title}} spends {{calc}}", view) //using mustache
NoteWe do not support operations with DOM-elements, browser APIs, or js libraries such as fs and similar. Arrow functions, classic functions, classes, and libraries such as Math are supported.
Editing code
The code is the main parameter of this activity. You can create and edite it in a separate built-in editor and store it in a .js file. This file is placed in the same folder where the .neek file is stored. If you delete this file, the data is lost.
To edit code, click the Edit Code button to open the editor.
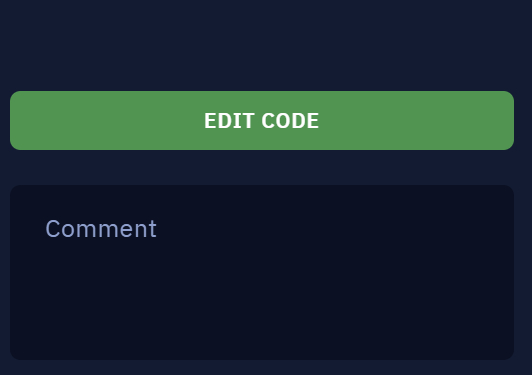
Edit Code button
This is how the editor looks like:
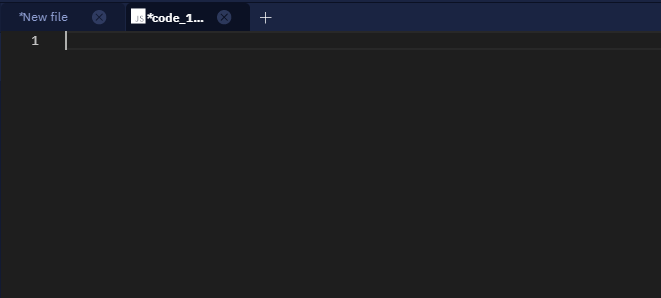
Code editor in a new Studio Pro tab
You may also use other popular code editors to edit the code.
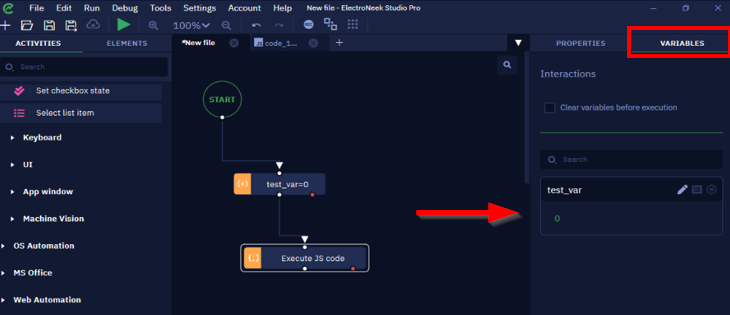
Note that you can see the list of used variables in the respective tab:
Example
Let us provide an example of how this activity can be used. We have this workflow that performs some calculations with two numbers, then saves the result in a variable and displays it in a notification window.
This workflow executes a JavaScript file
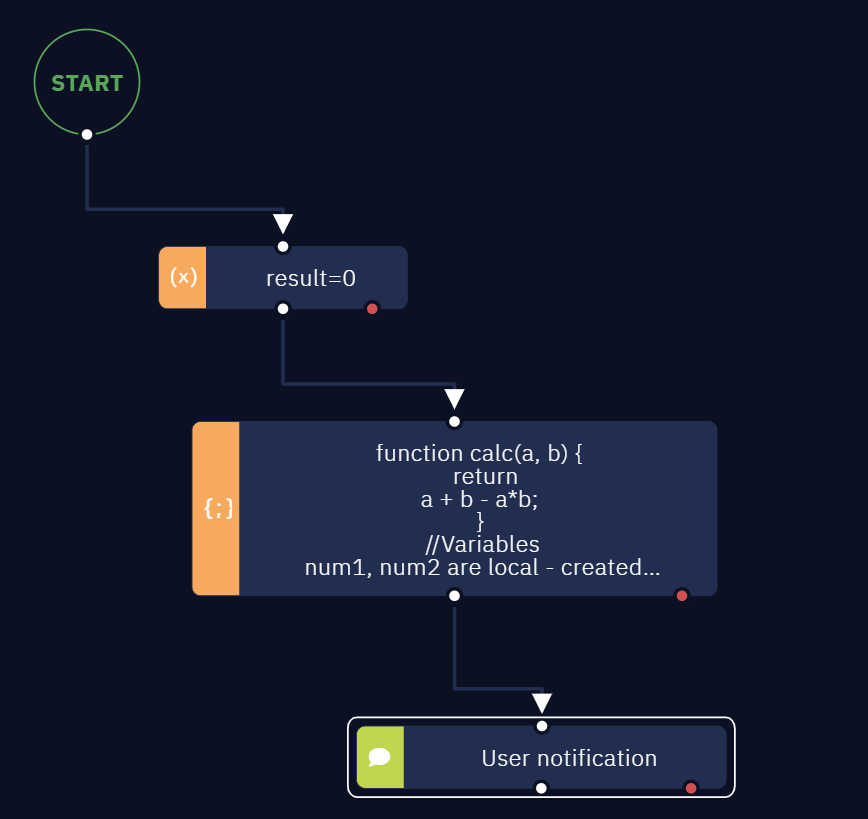
This is how the code looks like. As you can see, result variable is created outside of it using 'Assign value to variable' activity.
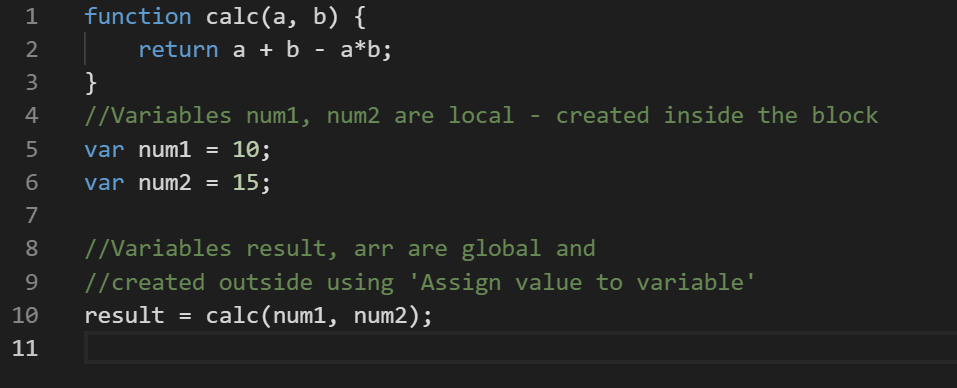
The code used in this example
Also note that the script file is saved locally.
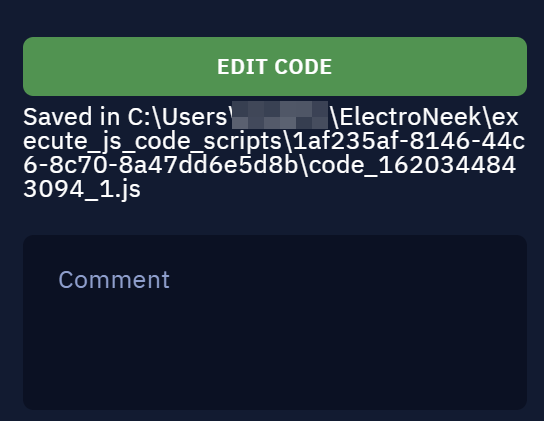
Script file name and path
This is how we set the 'User notification' activity to display the output:
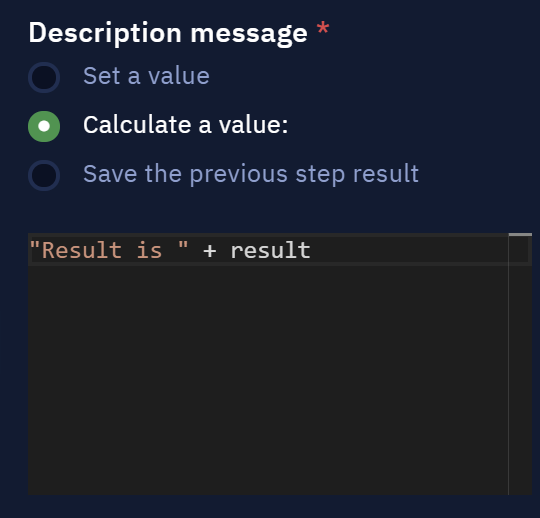
This displays a text message and the result variable value
And here is the result of this operation:
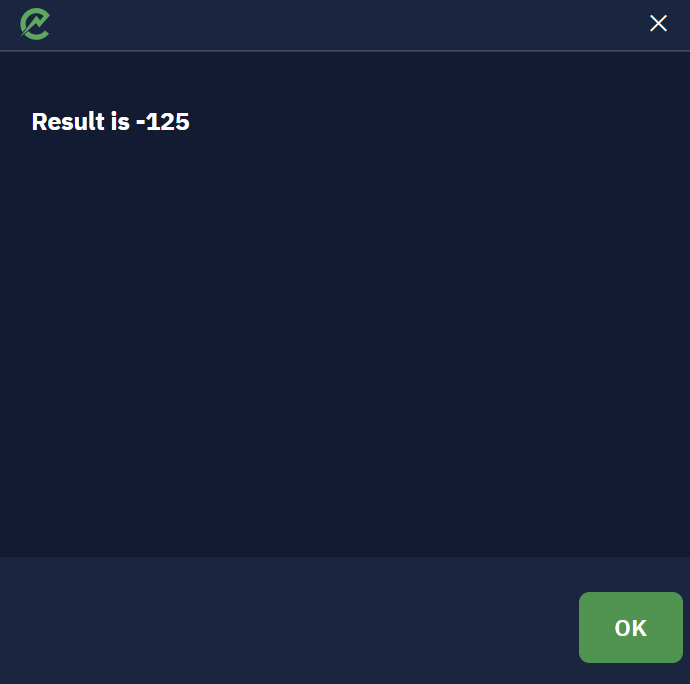
Result variable value is displayed
Timeout
Optionally, you can use this parameter to set a time limit (in seconds) for the execution of the activity.
If any activity takes longer than the time you set to be executed, you can see a warning message on the console. After the timeout, you are able to stop the workflow by hitting the Ctrl+]command.
Execute Python
Description
This action allows you to run scripts written in Python in your workflow.
Requirements
There are some requirements to make this activity work correctly:
- Python 3 must be installed on the computer where Studio Pro is being used. When deploying this bot to a Bot Runner, Python 3 must also be installed on the Bot Runner machine, or this activity will not work properly
- The Python path should be added to the Windows Environmental Variables. This is usuarlly done during the Python installation.
- If you wish to import external libraries in your Python code, you will need to create a Python Virtual Environment (venv) and set it as a parameter.
NoteFor more information on these actions see the related Python documents: Using Python on Windows and Creating Virtual Environments.
Parameters
Path to .py
This required parameter contains the path to the .py script file that you want to execute.
- Set a value: allows you to specify the path to the .py script file manually. Click the "Select" button to open File Explorer and select the file path.
- Calculate a value: allows you to use a formula or method to determine the path to the file, including the use of variables.
- Save the previous step result: takes the result of the previous activity in the workflow as the file path.
NoteThe .py script file that you want to execute does not need to be located within your venv folder. You may include the .py script within the Project folder if you wish.
Path to venv folder
This optional parameter contains the path to the virtual environment folder (venv) inside which the Python script will execute.
- Set a value: allows you to manually specify the path to the virtual environment folder (venv). Click the "Select" button to open File Explorer and select the path to the folder.
- Calculate a value: allows you to use a special formula or a special method to determine the path to the folder.
- Save the previous step result: takes the result of previous activity in the workflow as a folder path.
Avoid common errorsPlease take the following considerations into account to avoid issues when using a virtual environment (venv) to run your Python scripts:
- Using a venv is required for Python code that uses external libraries. If you attempt to execute Python code that imports external libraries without setting up the venv, you will see a "ModuleNotFoundError" exception, even if the libraries are installed on the machine.
- Creating a folder is not enough to set up a venv. You must follow certain steps for that folder to be correctly set up. See the following article: Creating Virtual Environments .
- The venv folder cannot be created inside the Project folder. If you do, the activity will return an error.
- If you are using external libraries, make sure that they are installed within the venv -- if they are installed on the computer, but not the venv itself, then your Python code will not recognize them. See the following article: Install packages in a virtual environment using pip and venv
- When deploying your workflow to a Bot Runner, make sure the venv path is either the same one or correctly configured using variables, and that it has the required libraries installed. Your venv and libraries will not be automatically be carried over when publishing the workflow to Orchestrator or exporting it to a .neex file.
Parameters
Here you can specify input parameters for running the Python script. See this How-to Article for details on how to pass data to your script.
- Set a value: allows you to manually specify parameters for launching the script.
- Calculate a value: allows you to use a special formula or a special method for determining the input parameters.
- Save the previous step result: takes the result of the previous action in the workflow as launch parameters.
Comment
Contains an annotation to the activity. The input text will be displayed above the activity name.
How to use it?
You can pass data from Studio Pro to a Python script, as well as get return data from it back to your workflow. See this How-to Article for more details.
Updated 9 months ago