How-tos: Studio Pro Programming
How to pass and return data from Studio Pro when working with Python
Description
This activity lets you pass data using Studio Pro to execute Python scripts. You can learn more about how to run scripts written in Python in this article.
How to use it?
There are two ways to perform this operation, depending on the amount of data.
First Method: String
You can pass a string to Python as a parameter. To demonstrate this, let us look at the following workflow.
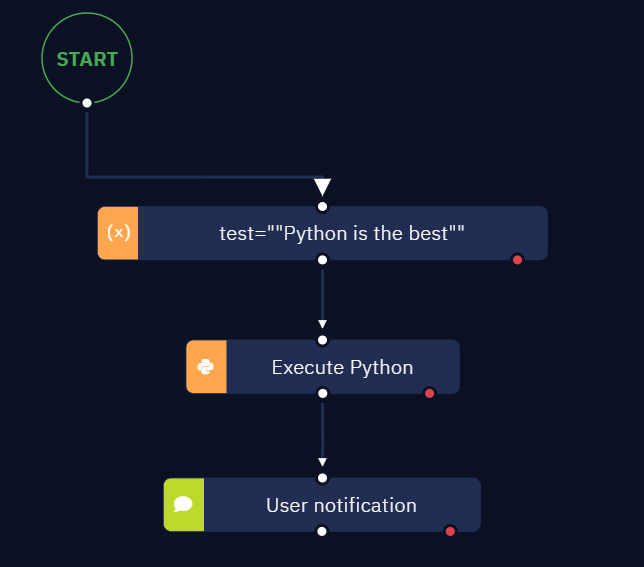
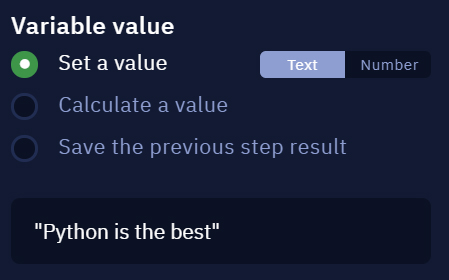
It is important to note that your string must be wrapped in double quotes, otherwise Python will process your string incorrectly. Using the given string, you can create a variable in Studio Pro as shown below.
We also need to add a Python script as a test case
import sys
print(sys.argv[1])
It should be noted that
sys libraryshould be imported in your Python script:import sys.- Once it has been imported, any argument can be called:
sys.argv[{{argument number}}].
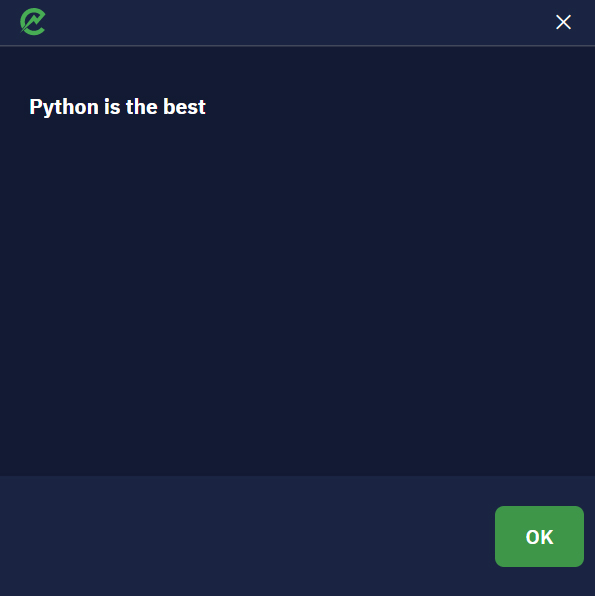
The result of the workflow is:
However, you can get the same result if you add double quotes to a variable in Parameters as follows '"' + {{variable name}} + '"'. For this reason, we no longer need to manually add double quotes to a string. This operation should look like below.

Multiple values can be sent as needed. Make sure to wrap them correctly and use proper indices. As an example, let us consider the expression: '"' + test + '" "test_value"'. In this case, the value of testis the argv[1], and for the test_value is argv[2].
You can also pass two variables as arguments: '"'+test1+'" "'+test2+'"'.
Second Method: A large amount of data
At the moment, there is only one possible way to pass a large amount of data, for example a JSON data file. In this case, you need to extract data using Studio Pro and then use it in Python. Let us look at the following example to understand how to deal with such a problem.
- Read emails and save the value to a variable (in the JSON format).
- Create a file in the JSON format using the result of the previous step.
- Prepare a Python script and use it with Execute Python activity as follows.
- Use Assign value to variable activity to save data returned from Python and use it further.
In the given case, we have created the following workflow.
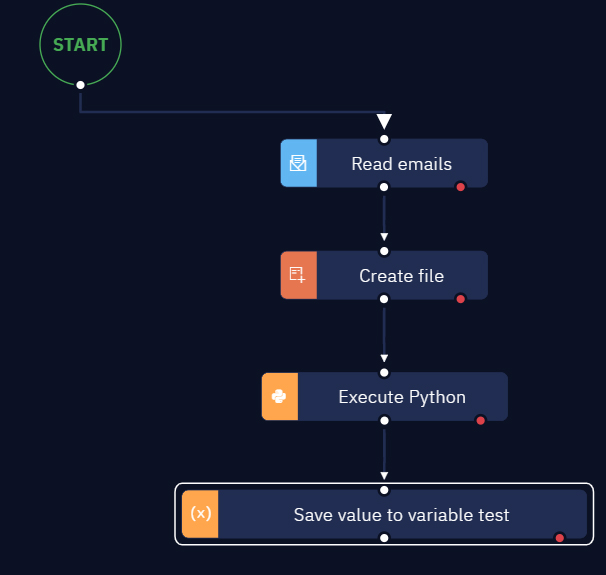
We also need the Python script to import JSON data.
#Import json library
import json

# Import file and encode/decode JSON
with open('C:\\Users\\ElectroNeek\\Desktop\\test_case\\test.json') as file:
data = json.load(file)

#returns data back to Studio Pro for further usage
print(data[0]['from'][0]['address'])
The result of this test workflow is simply an email address.
Troubleshooting: Common error messages
- The first error message is thrown if a wrong path was used for a Python script.
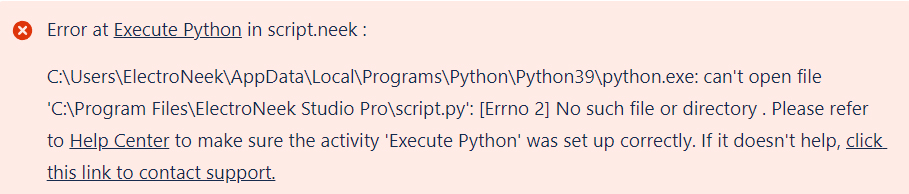
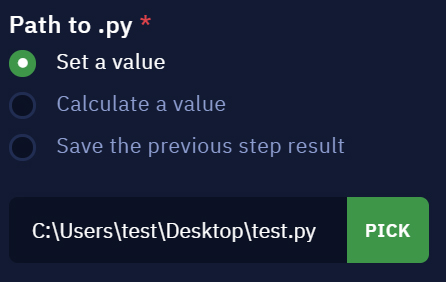
In order to fix this problem, you need to check that an absolute path is being used, for example:
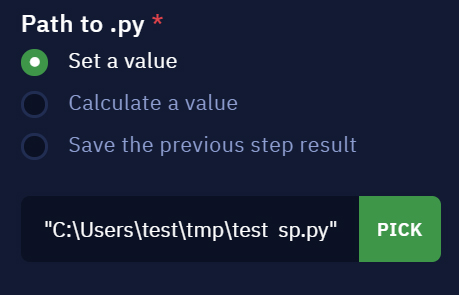
- The second error message may appear if the file name or one of the folders in the path contains a space in the name.
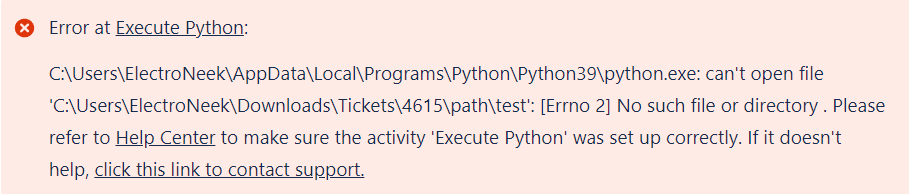
In order to solve this problem, you need to wrap the whole path in double quotes, for example:
- Тhe third possible error can be displayed as follows:

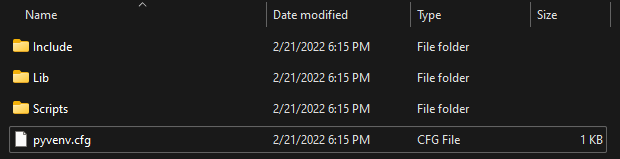
In this case you should check the "Path to venv folder" parameter, because the error means that the path to the venv folder is not specified correctly: the folder does not exist or it does not contain Python libraries. Note an example of the contents of the venv folder:
Java desktop applications
NoteThis feature is currently in the **beta stage. The purpose is to conduct testing and receive feedback. The final version may dramatically change as well as the sales policy with respect to this feature. Should you encounter any bugs, glitches, lack of functionality, or other problems with the beta feature, please send an email to our technical support.
The ElectroNeek platform allows you to create bots that can interact with desktop applications written in Java.
No special action is required for the bot to interact with such applications: you can choose which part of the application (button, input field) the bot should interact with using the Desktop Picker tool.
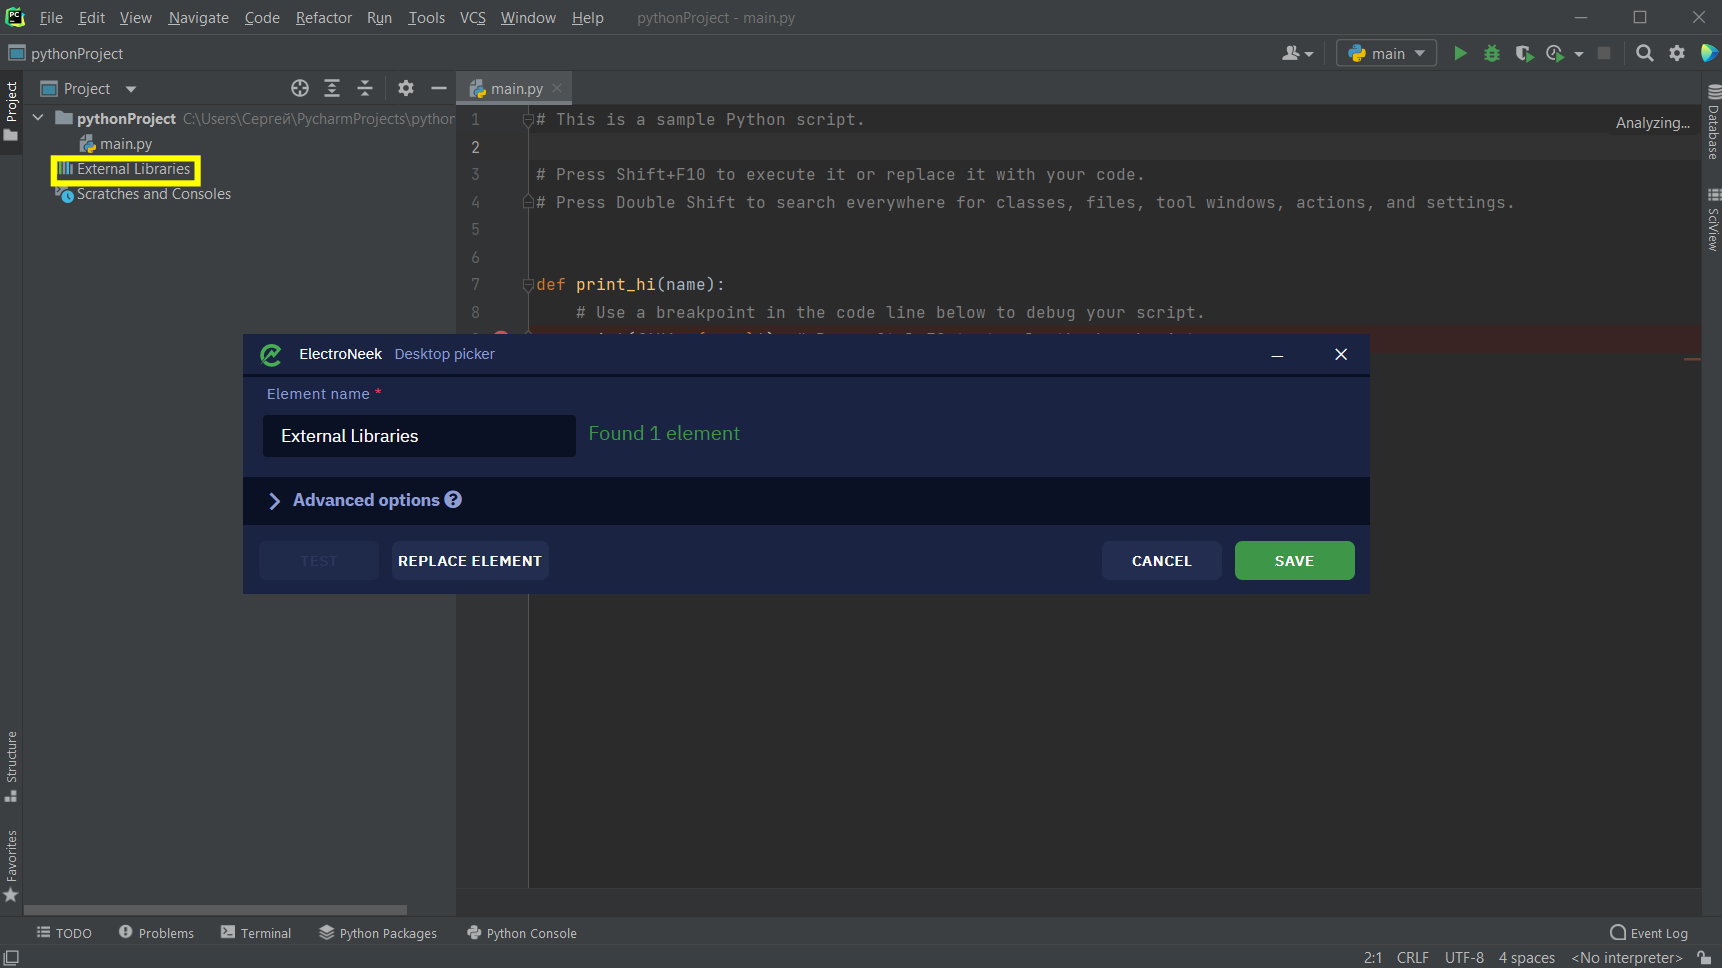
Example of Desktop Picker recognizing the element of the PyCharm application interface
The Java Access Bridge needed to interact with applications is installed automatically with the platform (Studio Pro + Bot Runner).
Studio Pro supports the most popular frameworks: AWT, Swing, SWT, JavaFX.
Writing a query in the "Execute query" activity
Description
There are scenarios when we want to write a query text such as INSERT INTO employees VALUES (10001, John, Doe, [email protected]) in the Execute query activity, but the values are stored in a variable. For example, the variable “id” contains the value “10001”, the variable “firstName” contains the value “John” and so on.
In this article, we show you how to write a query text in the "Calculate a value" parameter of the Execute query activity.
Instructions
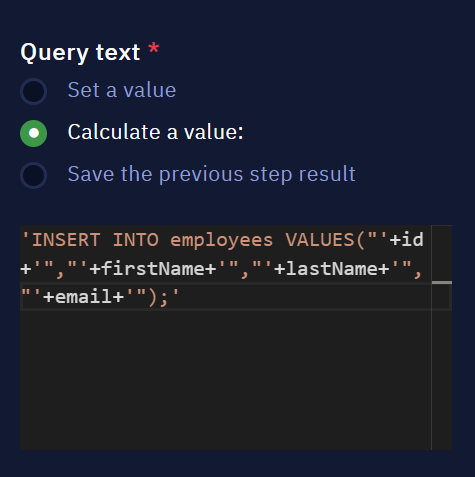
The query text "INSERT INTO employees VALUES (10001, John, Doe, [email protected])" can be written in the ‘Calculate a value’ parameter as follows:
'INSERT INTO employees VALUES("'+id+'","'+firstName+'","'+lastName+'","'+email+'");'
Please note that the syntax varies between the queries and needs to be adjusted accordingly.
Running a .neex file from the command prompt
Description
Sometimes we need to run a .neex file from CMD (command prompt) instead of running the bot directly from the Bot Runner. In this article, you will learn how to do that in just a few steps.
Prerequisites
Bot Runner must be installed on the machine.
Instructions
To run a bot from the terminal, follow these steps:
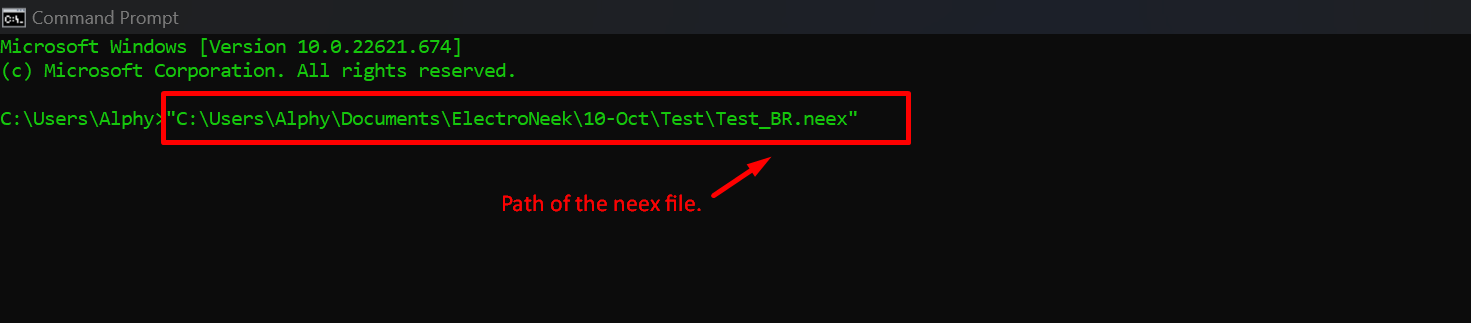
- Copy the path of the .neex file that you want to run from the command prompt.
- Open the command prompt.
- Paste the path to the .neex file.
- Click Enter.
After that, the Bot Runner starts executing the bot.
Note: For more information about exporting .neex files and running them on other machines, read this article.
How to run PowerShell commands using Studio Pro
For administrators, utilizing PowerShell commands to perform tasks such as creating new users can be highly efficient. In this article, we delve into the process of achieving this through Studio Pro.
Instructions
- The PowerShell application can be launched in either of the following ways:
- Using the Open application activity to directly launch the PowerShell application.
- Combining the Send hotkey and Input to desktop app activities:
- Begin with the Send hotkey activity to simulate the keyboard shortcut '
Win+r' (Windows key + r). - Proceed with the Input to desktop app activity to input '
PowerShell' into the search box. Enable the option 'Submit request/form after typing.'
- Begin with the Send hotkey activity to simulate the keyboard shortcut '
- Once the PowerShell application is open, employ the 'Input to desktop app' activity again to input the desired PowerShell command directly into the console.
How to work with objects
In this guide, we'll show you an easy way to work with JSON objects, step by step.
JSON (JavaScript Object Notation) objects are fundamental data structures used in various programming scenarios. This guide will walk you through the process of working with JSON objects, specifically focusing on accessing and manipulating their elements.
Instructions
- Begin by creating a JSON object with the desired data structure. For instance:
{
   "person": [
      {
         "name": "Pedro",
         "age": 77
      },
      {
         "name": "Manuel",
         "age": 30
      },
      {
         "name": "Thiago",
         "age": 9
      }
   ]
}
This JSON object contains an array of person objects, each with a name and age.

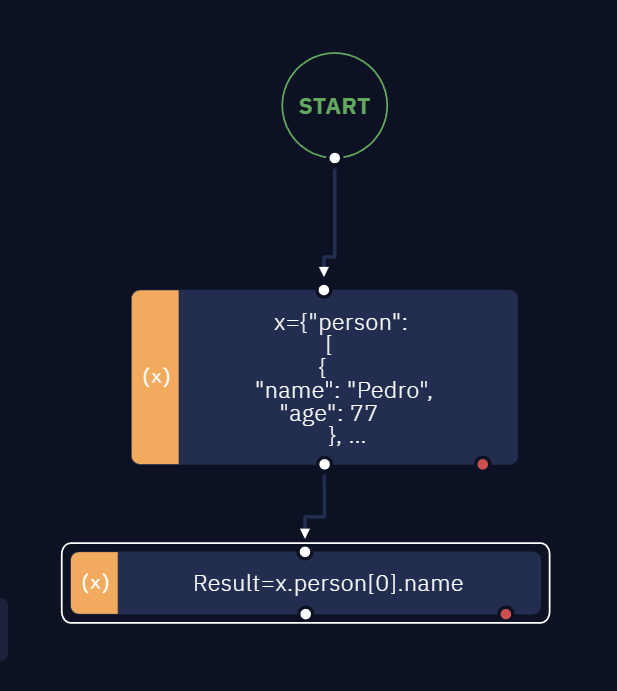
- Use the "Assign to variable" activity to store the JSON object in a variable.
- To access a specific value within the JSON object, follow this example format:
variable.object[0].Key.
For instance, if you want to access the name of the first person in the array, use:x.person[0].name.
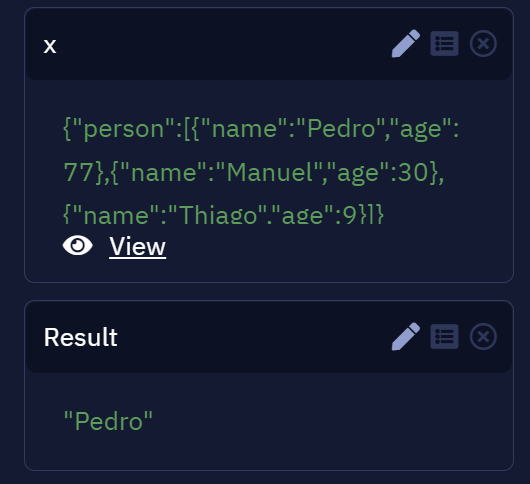
- See the result:
How to use MomentJS Library
In this guide, we'll introduce you to the Moment.js library, which simplifies working with dates and times. Moment.js provides an easy-to-use interface for displaying, formatting, parsing, validating, and manipulating date and time data.
Instructions
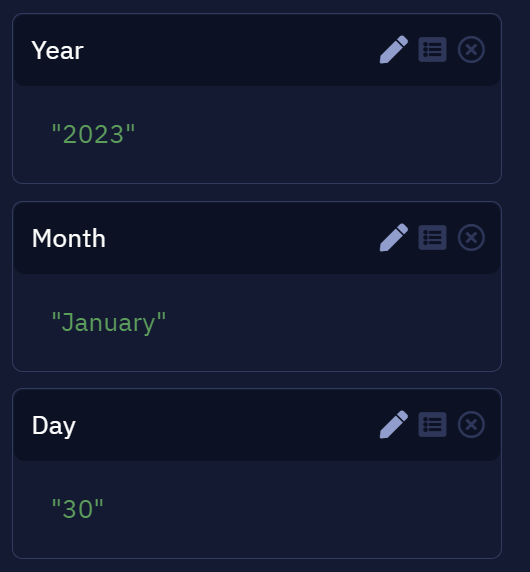
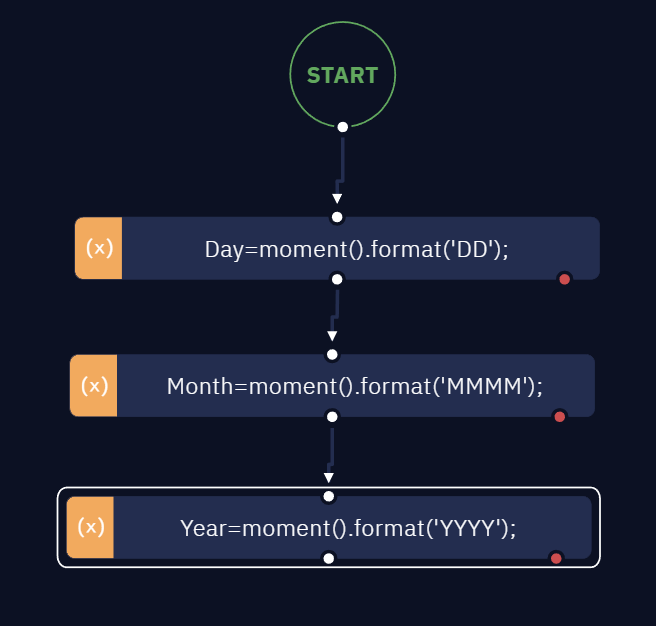
- Add the "Assign to variable" activity to your workflow. Name the variable "
Day" and insert this code:moment().format('DD'). This will show the current day of the month. - Add another variable to your workflow, name it "
Month" and insert this code:moment().format('MMMM'). This will display the full name of the current month. - Add another variable to your workflow, name it "
Year" and insert this code:moment().format('YYYY'). This will provide the current year.
- The result will look like this: It will bring the current year, month and day.