
Mouse
Studio Pro activities > Web Automation > Mouse. Includes "Click on element", "Hover over element", "Drag and drop element" and "Select List Item".
Activities
| Click on element | Hover over element |
|---|---|
| Simulates clicking a specific browser element | Hovers the mouse cursor over the specified element |
| Drag and drop element | Select list item |
| Simulates drag and drop of a web page element | Select a specific item in a dropdown list |
Click on element
Description
This activity simulates clicking a specific browser element. It is possible to do a left click, right click, and double click.
Similar to other browser-related activities it requires an added ‘Open URL’ activity block placed before it. Read about its usage in this article.
Browser element
First of all, we need to define the browser element that will be used for it. This can be a search string, button, or any other kind of interface element. This can be done in Studio Pro using Pick New Element. Let us take a look at how it works.
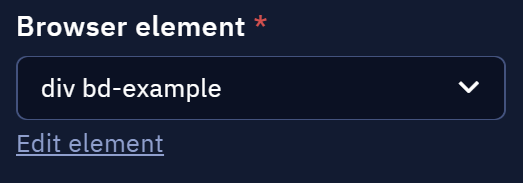
Browser element is the main parameter here. It defines the used browser element. To set up a new element, click on "Pick New Element". If you have already selected one, the "Edit element" option is available, then you can either pick a new element or choose a new one from the list.
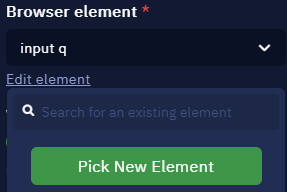
Browser element parameter lets you either pick a new element or use an existing one
Once you click on the button, the browser appears. Hover your cursor over the desired element: if it is recognized, it is highlighted in red. Press Ctrl + X while hovering over the element to pick it. The Esc key closes Browser Picker without choosing any elements.
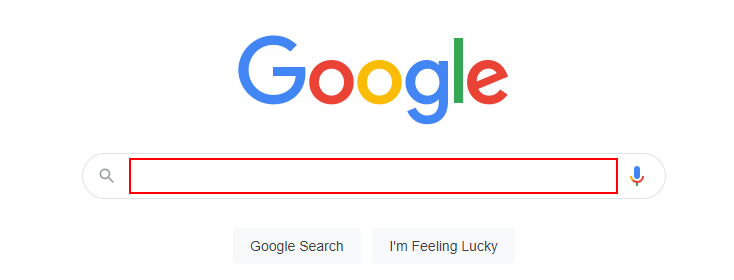
The Picker highlights a browser element
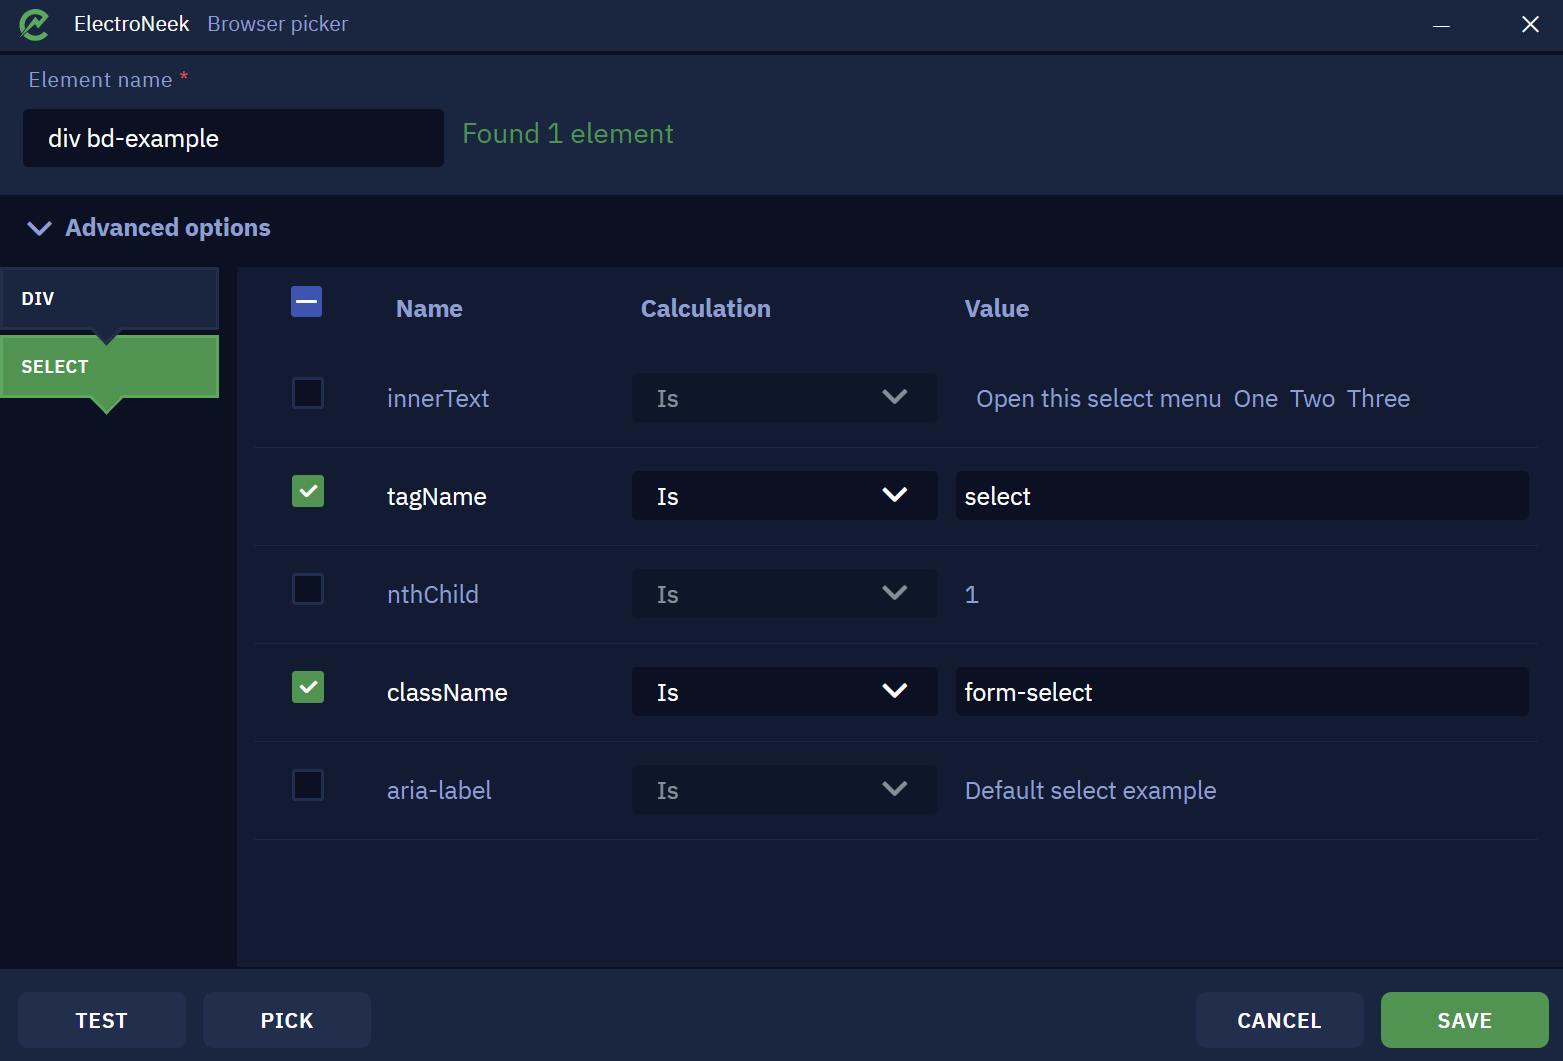
As soon as the element is picked, this window will appear. It indicates that the element was found and recognized. You can also set the element name here. It will be displayed in Studio Pro.
It is also possible to view the advanced options by opening the dropdown menu. Advanced options represent the chosen element as a table. It contains the properties and values of this element. This table can be modified in case it is required to refine or correct the element.
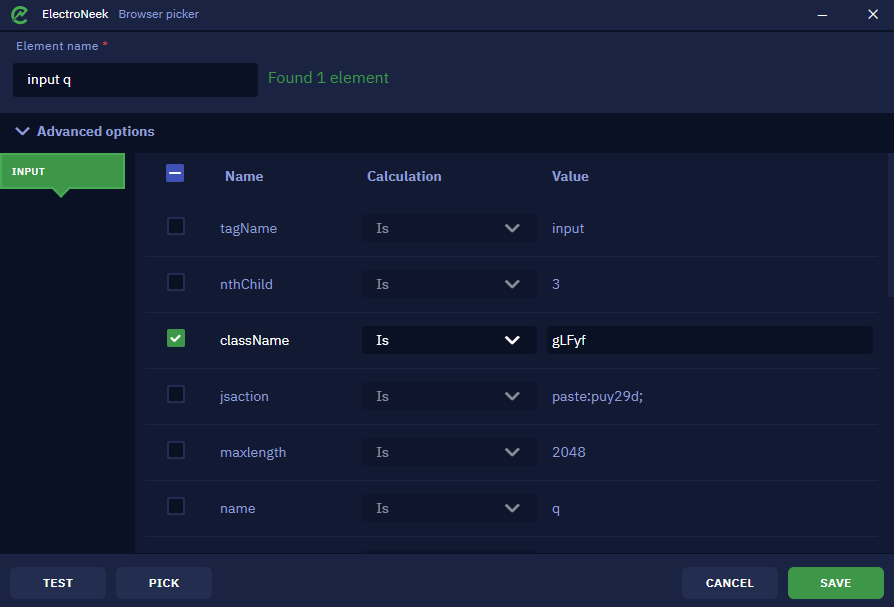
Advanced element options
The "Test" button lets you check if the element was defined correctly. Upon clicking it, focus will be shifted to the browser window and the picked element will be highlighted yellow if it was recognized correctly. It can display one of the following messages:
- Found 1 element means that the specific element was successfully recognized.
- Found >1 element means that there are a few similar elements. In this case, it is required to pick one of them or double check the advanced options.
- Not found means that the element was not recognized and must be redefined or the advanced options must be corrected.
The "Pick" button lets you pick another element or pick the element once again.
Click "Save" once you are ready. This element will be saved for further usage in Studio Pro activities.
It is also possible to edit an existing element that you have previously picked. To do this, click the "Edit element" button below its name.
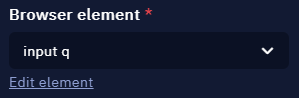
This button lets you edit the element
Other parameters
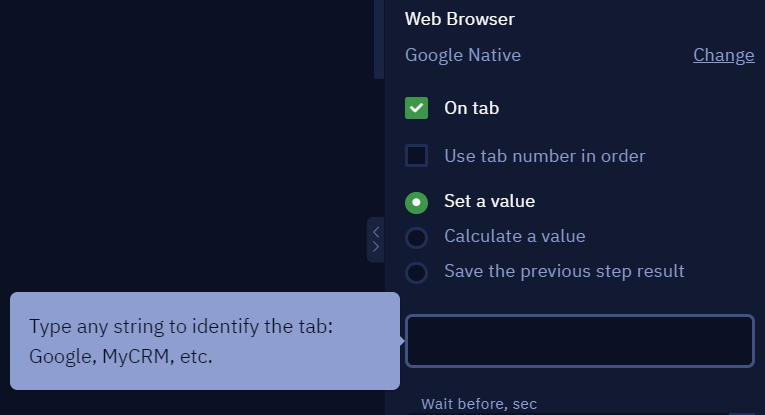
On tab. This parameter allows you to specify the name of the tab that you want the bot to interact with. The name of the tab is assigned in the "Open URL" activity.

- Set a value allows you to manually specify the name of the tab.
- Calculate a value allows you to use a special formula or a special method to determine the name of the tab.
- Save the previous step result takes the result of the previous workflow action as the name of the tab.
Use tab name in order
This checkbox allows you to specify a sequential number of a tab in the browser. It is worth using if a new tab opens not manually, but automatically after clicking on some element.
In iframe
It is also possible to click an element in IFrame. Check this parameter if you would like to use this feature. Once it is checked, IFrame parameter will appear. In this specific case, this parameter is required.

Iframe parameter
Double click and Right Click
Use these options to specify different ways of clicking the element you chose. Notice that you can toggle these options along with Key Modifiers if you want your bot to use combinations like Ctrl + Shift + Double click, for example.
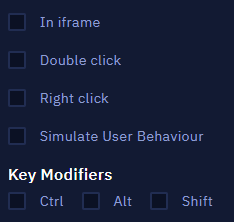
Simulate Human Behavior
NoteThe "Simulate User Behavior" option is only available when "Chrome Native or Edge" is selected as the browser. In the case of selecting Chrome Selenium, this option will not be available.
Check this parameter to simulate the action as a human input and avoid target Browsers considering any activity as bot input.
Wait before, sec, and Wait after, sec parameters indicate how much time will pass before or after executing this activity.
Hover over element
Description
Hovers the mouse cursor over the specified element in the browser opened via Studio Pro.
Parameters
Browser element
This activity allows you to select the desired browser elements using the Browser picker.
On tab
This parameter allows you to specify the name of the tab that you want the bot to interact with. The name of the tab is assigned in the Open URL activity.
- Set a value allows you to manually specify the name of the tab.
- Calculate a value allows you to use a special formula or a special method to determine the name of the tab.
- Save the previous step result takes the result of the previous workflow action as the name of the tab.
Use tab name in order
This checkbox allows you to specify a sequential number of a tab in the browser. It is worth using if a new tab opens not manually, but automatically after clicking on some element.
In iframe
This parameter allows you to select a specific iframe on a given page where the action is to be executed.
Simulate User Behavior
Check this parameter to simulate the action as a human input and avoid target Browsers considering any activity as bot input.
Wait before, sec
Allows you to set the delay in seconds before the action is executed.
Wait after, sec
Allows you to set the delay in seconds after the action has been performed.
Comment
Contains an annotation of the activity. The input text will be displayed above the activity name.
Drag and drop element
Description
Simulates drag and drop of a web page element to another element.
Parameters
Browser tabs
This activity allows you to select the desired browser elements using the "Browser picker".
The tab selection parameter offers two options: specify the tab number manually or use the "Use tab number by order" checkbox.
Specifying the tab number manually allows you to designate the selected tab independently from the other tabs. That is, if tab "2" is selected in the option and other tabs are actually opened in the browser before it (i.e. the tab becomes, for example, the third one), the activity will be executed in this tab anyway.
The "Use tab number by order" checkbox denotes the tab strictly by the order of the actually opened tabs in the browser. That is, in a similar case (when the desired tab is actually the third), the Browser Picker will work exactly with the second tab of the browser.
Browser element
Target element for relocation.
Attributes
'Change the element' - allows you to use 'Browser Picker' to define an item.
CSS selector
- Set a value: enables you to directly write a CSS-selector string of the specified element, for example,
input[name='btnK']. - Save the previous step result: chooses the previous function result as the CSS-selector.
- Calculate a value: enables you to use available properties and methods to form the CSS-selector.
XPath
- Set a value: enables you to directly write a string which is the selector of the specified element in the XPath form, for example,
//*[@id="rso"]/div[1]/div/div[2]/div/div/div[1]/a. - Save the previous step result: chooses the previous function result as the XPath expression.
- Calculate a value: enables you to use available properties and methods to form the XPath expression.
Target element
The end point of the element movement.
Attributes
Change the element' - allows you to use 'Browser Picker' to define an item.
CSS selector
- Set a value: enables you to directly write a CSS-selector string of the specified element, for example,
input[name='btnK']. - Save the previous step result: chooses the previous function result as the CSS-selector.
- Calculate a value: enables you to use available properties and methods to form the CSS-selector.
XPath
- Set a value: enables you to directly write a string which is the selector of the specified element in the XPath form, for example,
//*[@id="rso"]/div[1]/div/div[2]/div/div/div[1]/a. - Save the previous step result: chooses the previous function result as the XPath expression.
- Calculate a value: enables you to use available properties and methods to form the XPath expression.
Offset X
Mouse cursor shift in the X axis.
- Set a value: specify horizontal axis offset coordinates.
- Save the previous step result: take the value of the variable calculated in the previous step of the workflow.
- Calculate a value: use a special formula or a special method to calculate the value.
Offset Y
Couse cursor shift in the Y axis.
- Set a value: specify vertical axis offset coordinates.
- Save the previous step result: take the value of the variable calculated in the previous step of the workflow.
- Calculate a value: use a special formula or a special method to calculate the value.
Use tab number by order
Allows you to manually specify the tab number.
Browser tab
The number of the browser tab where the desired item is located. In total, up to five tabs can be used in the workflow.
On tab
This parameter allows you to specify the name of the tab that you want the bot to interact with. The name of the tab is assigned in the "Open URL" activity.

- Set a value allows you to manually specify the name of the tab.
- Calculate a value allows you to use a special formula or a special method to determine the name of the tab.
- Save the previous step result takes the result of the previous workflow action as the name of the tab.
Use tab name in order
This checkbox allows you to specify a sequential number of a tab in the browser. It is worth using if a new tab opens not manually, but automatically after clicking on some element.
In iframe
Allows you to select a specific iframe on a given page where you want to perform the action.
Comment
Contains an annotation to the activity. The input text will be displayed above the activity name.
Select list item
Description
This activity allows you to select a specific item in a dropdown list. The item to be selected can be chosen directly or determined as a variable, implying that the item itself can be dynamic.
Please note that only the standard HTML dropdown lists are supported.
Browser Picker
First of all, we need to define the browser element that will be used for it. This can be done in Studio Pro using Browser Picker. Let us take a look at how it works.
Here we are going to provide an example with a dropdown list. The list we used here can be found this website.
Browser Element is the main parameter here. It defines the used browser element. To set up a new element, open the dropdown menu here and click ‘Pick New Element’. If there is an existing element, it will be present in the list and it will be possible to choose it.

Browser element parameter lets you either pick a new element or use an existing one
The browser window opens. Hover your cursor over the desired element. If it is recognized, it will be highlighted in red. Press Ctrl + X while hovering over the element to pick it. Esc key closes Browser Picker without choosing any elements.

Picker highlights a browser element

Other contents of this list
As soon as the element is picked, the Browser Picker window appears confirming the element was found and recognized. You can also set an "Element name" here to be displayed in Studio Pro later on.
In the Browser Picker window, it is also possible to view the advanced options by opening the dropdown menu. These "Advanced options" represent the chosen element as a table. It contains the properties and values that belong to this element. Edit these values in the table by checking and unchecking the options and defining values for Calculation and Values.

Advanced element options
The ‘Test’ button lets you check if the element was defined correctly. Upon clicking it, the focus will be shifted to the browser window and the picked element will be highlighted yellow if it was recognized correctly. It can display one of the following messages:
- Found 1 element means that the specific element was successfully recognized.
- Found >1 element means that there are a few similar elements. In this case, it is required to pick one of them or double-check the advanced options.
- Not found means that the element was not recognized and must be redefined or the advanced options must be corrected.
The ‘Pick’ button lets you pick another element or pick the element once again.
Click ‘Save’ once you are ready. This element will be saved for further usage in Studio Pro activities.
It is also possible to edit an existing element that you have previously picked. To do this, click the ‘Edit element’ button below its name.
This button lets you edit the element
Parameters
We have just described how to pick a new interface element. Now let us review the other parameters.
Browser Element
Browser element is the main parameter here. It defines the used browser element. To set up a new element, open the dropdown menu here and click ‘Pick New Element’. If there is an existing element, it will be present in the list and it will be possible to choose it.
The browser window opens. Hover your cursor over the desired element. If it is recognized, it will be highlighted in red. Press Ctrl + X while hovering over the element to pick it. Esc key closes Browser Picker without choosing any elements.

Picker highlights a browser element

Other contents of this list
As soon as the element is picked, the Browser Picker window appears confirming the element was found and recognized. You can also set an "Element name" here to be displayed in Studio Pro later on.
In the Browser Picker window, it is also possible to view the advanced options by opening the dropdown menu. These "Advanced options" represent the chosen element as a table. It contains the properties and values that belong to this element. Edit these values in the table by checking and unchecking the options and defining values for Calculation and Values.
List item
This parameter defines what item of the specified list will be selected.
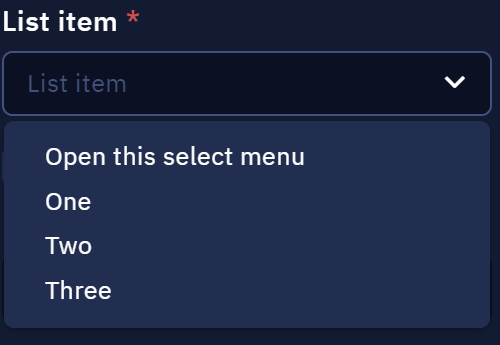
These are the contents of the dropdown list we have shown as an example
- Set a value allows you to manually specify the item to be selected.
- Calculate a value allows you to use a special formula or a special method to determine the item to be selected. It can be used to specify variables in this parameter.
- Save the previous step result takes the result of the previous workflow action as the item to be selected.
On tab
This parameter allows you to specify the name of the tab that you want the bot to interact with. The name of the tab is assigned in the "Open URL"activity.

- Set a value allows you to manually specify the name of the tab.
- Calculate a value allows you to use a special formula or a special method to determine the name of the tab.
- Save the previous step result takes the result of the previous workflow action as the name of the tab.
Use tab name in order
This checkbox allows you to specify a sequential number of a tab in the browser. It is worth using if a new tab opens not manually, but automatically after clicking on some element.
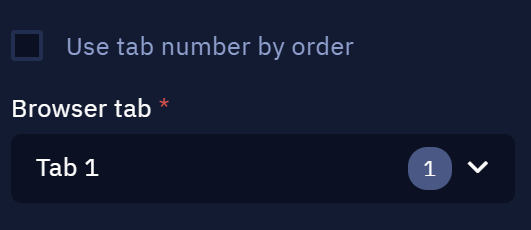
Browser tab parameter
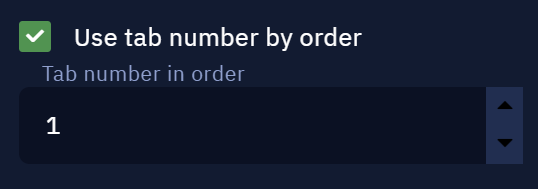
Use tab number by order parameter
In iframe
This parameter allows you to select a specific iframe on a given page where the action is to be executed.
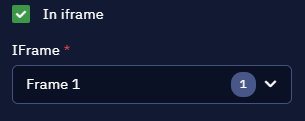
Iframe parameter
Wait before, sec, and Wait after, sec
These parameters indicate how much time will pass before or after executing this activity.
Comment
Contains an annotation of the activity. The input text will be displayed above the activity name.
Updated about 1 year ago