How-tos: Studio Pro Credentials and Security
Table of content
How to work with credentials
Introduction
Credentials that bots need to interact with (logins and passwords) are stored in the Windows Credential Manager. The data is synchronized so if you add a credential to Studio Pro or Bot Runner then it will be also displayed in the Windows Credential Manager and vice versa.
Managing credentials
Method 1: "Credentials" tab in Studio Pro or Bot Runner
Both Studio Pro and Bot Runner support adding a credential that will be used in a bot.
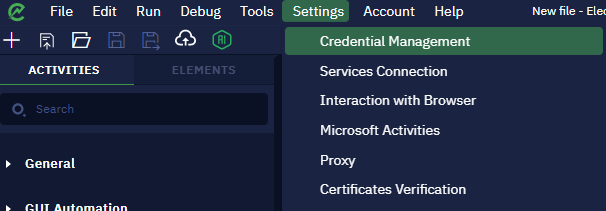
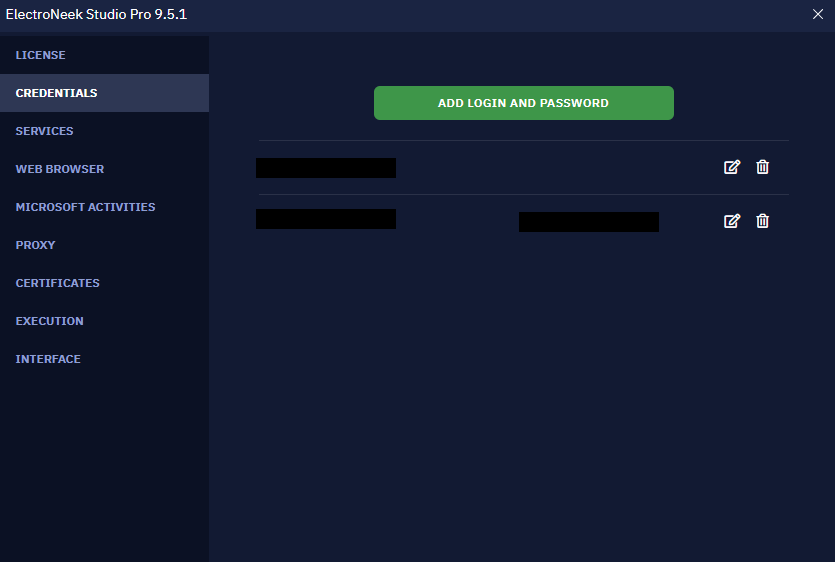
- To manage credentials, open the "Credentials" tab in Studio Pro or Bot Runner:
- In Studio Pro, press "Settings" - "Credential Management".
ii. In Bot Runner, open the program interface and switch to the "Credentials" tab.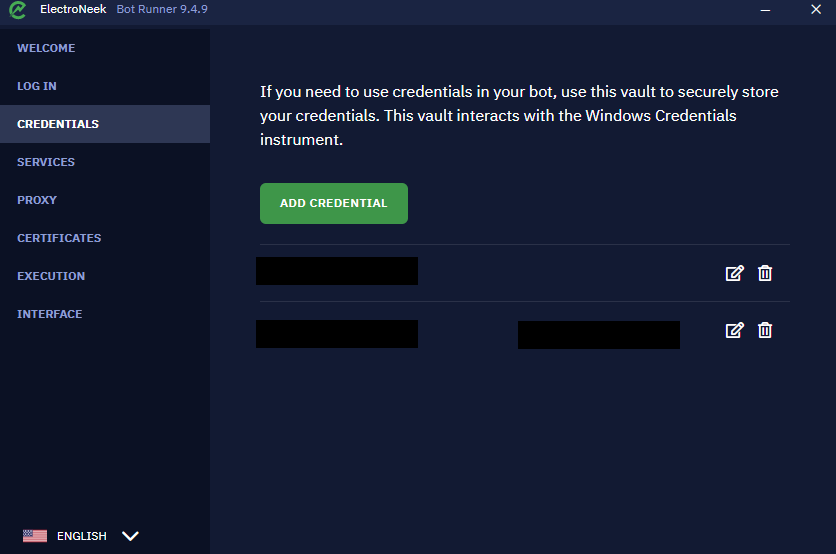
- On the tab, press "Add login and password". A form will appear like on the screenshot below:
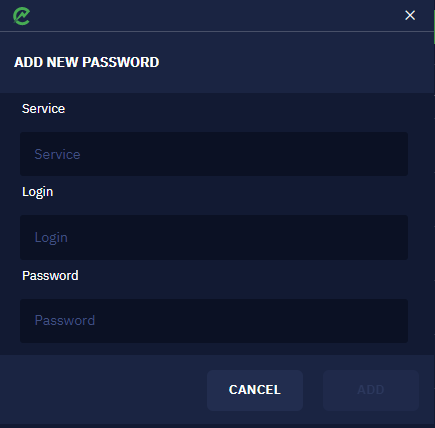
- In the form, fill the following parameters:
- **Service **- a name of the credential. Specify a suitable name so that you could easily identify it when working on the bot.
- **Login **- specify the user name.
- **Password **- specify the password.
- Press "Add". If a credential with the identical "Service-Login" pair already exists, you will receive a message with a question about whether the existing data needs to be overwritten.
If no duplicates exist, then the form will be closed once the "Add" button is pressed, and the corresponding credential will be displayed in the list of credentials.
Method 2: Windows Credential Manager
This method is a bit more complicated because of the number of actions required but it still should be taken into consideration. It involves interaction with the Windows Credential Manager:
- Click on the search button in the taskbar and enter "Credential Manager". This is the fastest way to open the credential manager.
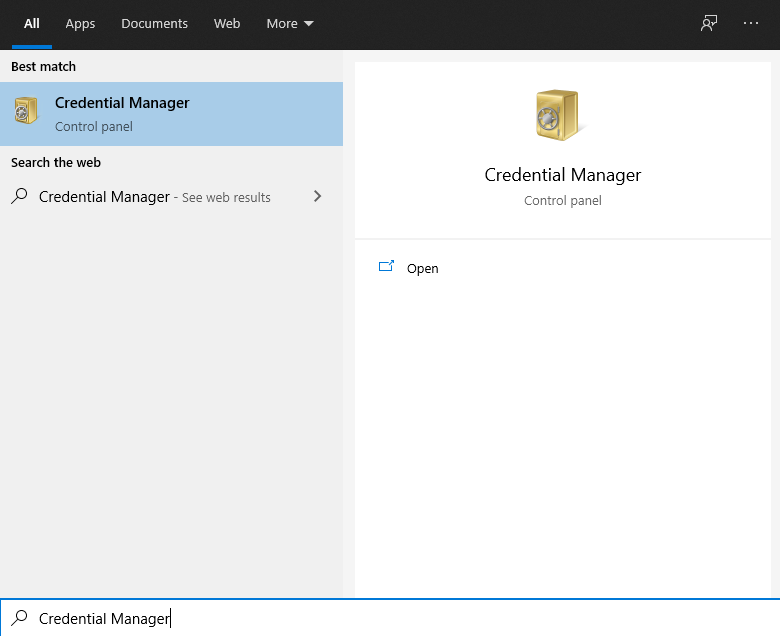
- Switch to the "Windows Credentials" tab.

- Press "Add a generic credential". You'll see the following form:

- In the form, fill the field in the following way:
- Internet or network access: Electroneek Robot/service name@login
- User name: service name@login
- An example is provided on the screenshot below:

- Press "OK" and restart Studio Pro or Bot Runner. If you then navigate to the "Credentials" tab, you will see the added credential there.
NoteWhen transferring the algorithm to run on another machine, you must add an account with the same value to the "Service" field. The algorithm will not work on another machine if there is no such account.
Using credentials
Usually, credentials are used in two ways:
- Working with activities requiring authorization, such as Read emails from the "Email" section.
- Accessing third-party systems through the desktop or web interfaces.
In the first case, you just need to select the desired credential in the corresponding parameter of the activity. See the description of the activity if you want to know more details about it.
In the second case, you need to make use of activities from the "Credentials" section in Studio Pro. For example, you may want to use the Get password activity. This activity returns the password depending on which service name was selected but it doesn't save it to a variable automatically for security purposes.
Nevertheless, this password can be passed from this activity to the next one, for example, Input to the desktop app, in the "Value" parameter of which you need to specify the "Save the previous step result option".
In this case, the password won't be displayed anywhere, yet it will be typed into the specified UI element securely. An example of a similar portion of code is provided below:

How to use Google App Passwords
Introduction
To help keep users' accounts secure, starting May 30, 2022, Google no longer supports the use of third-party apps or devices which ask you to sign in to your Google Account using only your username and password. Since this is how Studio Pro connects to Gmail, you need to use the App Password to maintain access to the email service.
How to create an App Password
The process of creating an App Password is described in detail in the "Create & use App Passwords" section of this Google tutorial.
How to use an App Password in Studio Pro
For the Read emails activity to work with the Gmail, you must set the App Password in the "Credential Management" menu. To do this:
- In the top toolbar, go to Settings → Credential Management.
- Create a new "Login - Password" pair or edit an existing one.
- Fill in the fields as follows:
- Service - you can fill it in any way you want, it will not affect the operation of the credentials.
- Login - enter the email address of your Google account.
- Password - enter the App Password generated in your Google account.
When working with the Read emails activity, use the "Login - Password" pair, where "Password" is the App Password.
How to configure proxy in Studio Pro
Description
Some companies use proxy connections on their internal networks. Most often, this is for privacy and security reasons or to access secure content.
The ElectroNeek platform requires a network connection during startup. A proxy server is essentially an "intermediary" between a particular computer and network access, so a proxy server must be specified in the Studio Pro and Bot Runner settings in order for the platform to connect to the network.
Possible errors
- Error connecting to EletroNeek services when starting Studio Pro.
- Error «Client network socket disconnected before secure TLS connection was established» when starting the Bot Runner.
Configuring proxy
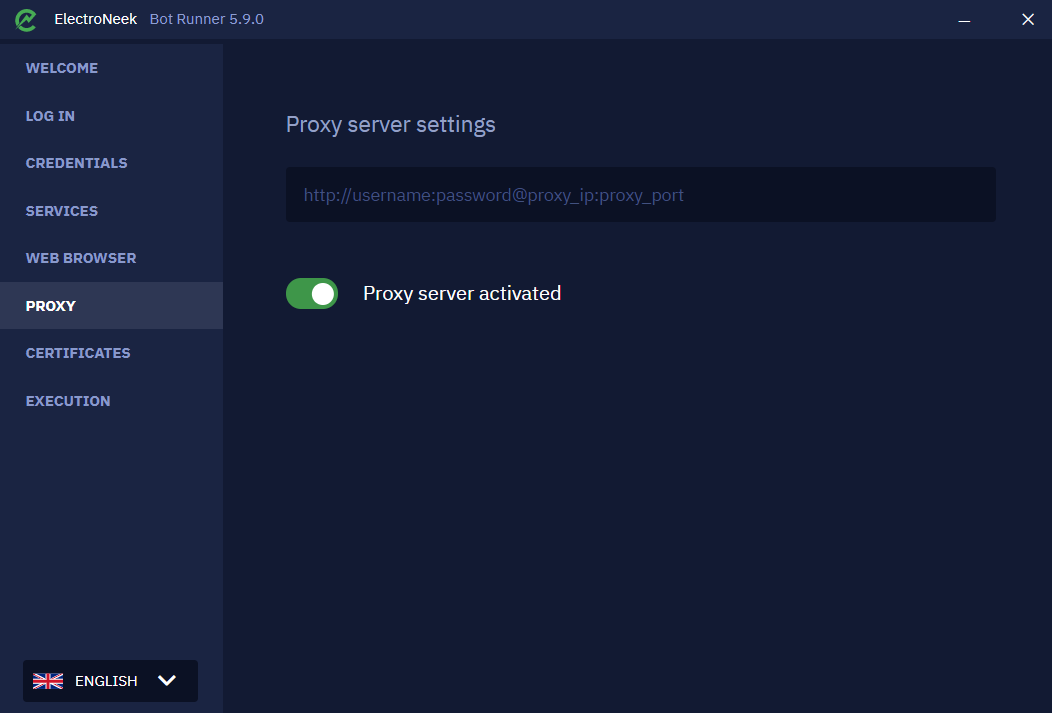
If your network uses a connection through a proxy server with authentication, make sure that the basic authentication method is used (or can be configured). If so, you only have to specify the address of the proxy server in the form http://username:password@proxy_ip:proxy_port
To specify the address of a proxy server:
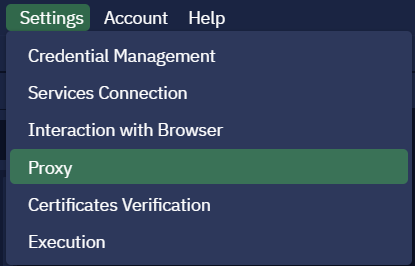
Studio Pro - "Settings" → "Proxy" (or at startup if there is an error connecting to ElectroNeek services).
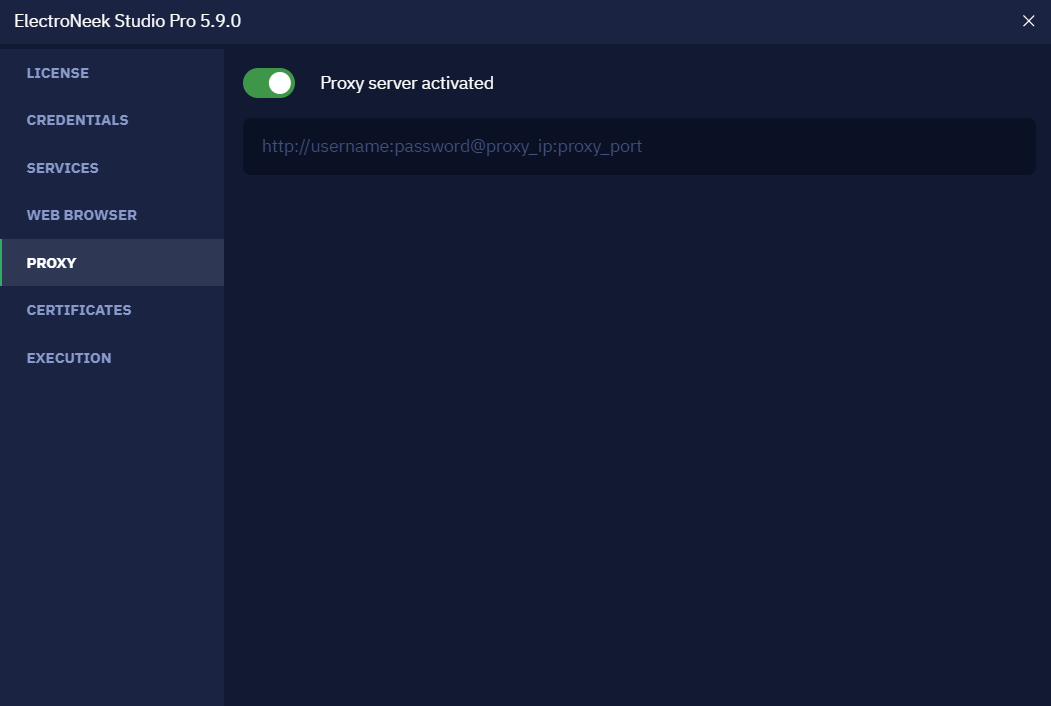
Bot Runner - “Proxy” tab.
How to exclude Studio Pro from antivirus checks
In some cases, due to various settings, antiviruses do not trust third-party applications and block them. If the ElectoNeek platform does not start, one of the possible reasons could be that it is blocked by an antivirus. In this case, we recommend you to contact your system administrator to add certain files to the antivirus exception list. Below you will find a list of files for "Studio Pro".
Studio Pro:
Versions before 5.10.2
- C:\Program Files\ElectroNeek\Studio Pro\Loader\ElectroNeek-loader.exe
- C:\Program Files\ElectroNeek\Studio Pro.exe
C:\Program Files\ElectroNeek\Robot.exe
C:\Program Files\ElectroNeek\Studio Pro\Robot\win-agent-selectors\ElectroNeek-Robot.exe
Versions from 6.0.25
- C:\Program Files\ElectroNeek Studio Pro\Loader\ElectroNeek-loader.exe
- C:\Program Files\ElectroNeek Studio Pro\Robot\ElectroNeek Bot Runner.exe
- C:\Program Files\ElectroNeek Studio Pro\Robot\win-agent-selectors\ElectroNeek-Robot.exe
- C:\Program Files\ElectroNeek Studio Pro\ElectroNeek Studio Pro.exe
SSO authentication
Description
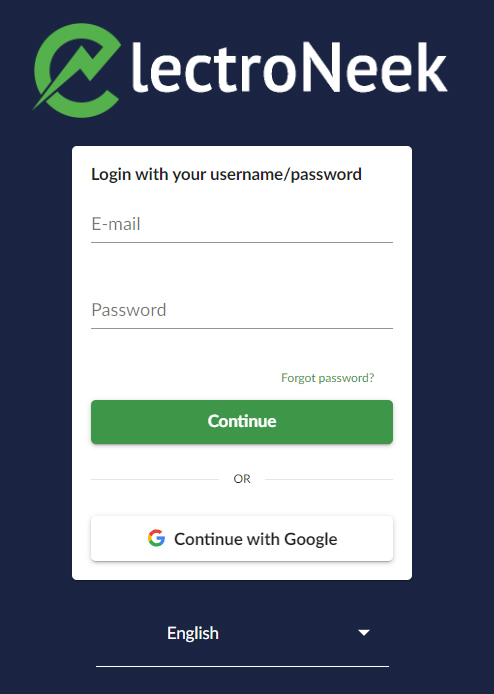
The logging process now uses one single webpage to which you will be automatically redirected during the authorization. Moreover, you now can use your Google account (if you have one) for the logging process or choose the standard login with a password.
NoteUsing SSO (such as Google SSO, etc.) is often more secure than the standard login with a password.
How to use it?
After you launch any Electroneek product you will be asked to authenticate as shown below:
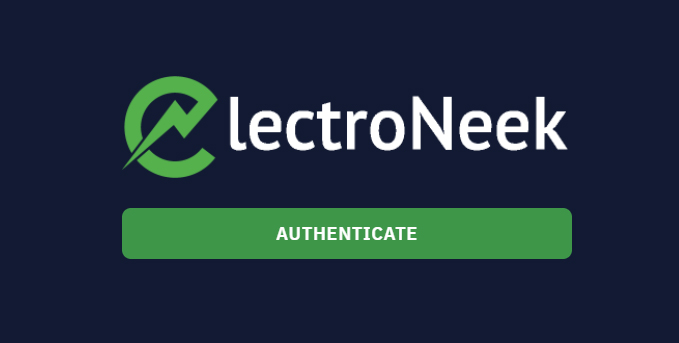
After you click on the "Authenticate" button, you will be automatically redirected to the dedicated login web page as follows:
