How-tos: Orchestrator SaaS Connection
Token Connection
Introduction
Starting with release 7.0, connection to Bot Runner will only be possible using a token. Users with Analysts Roles are not allowed to change settings or generate Access Tokens. Read this article for more information about the roles available in Orchestrator. Bot Runner will no longer be tied to a specific user (via username and password) but will be available to any user within the organization via Orchestrator.
Creating a Token
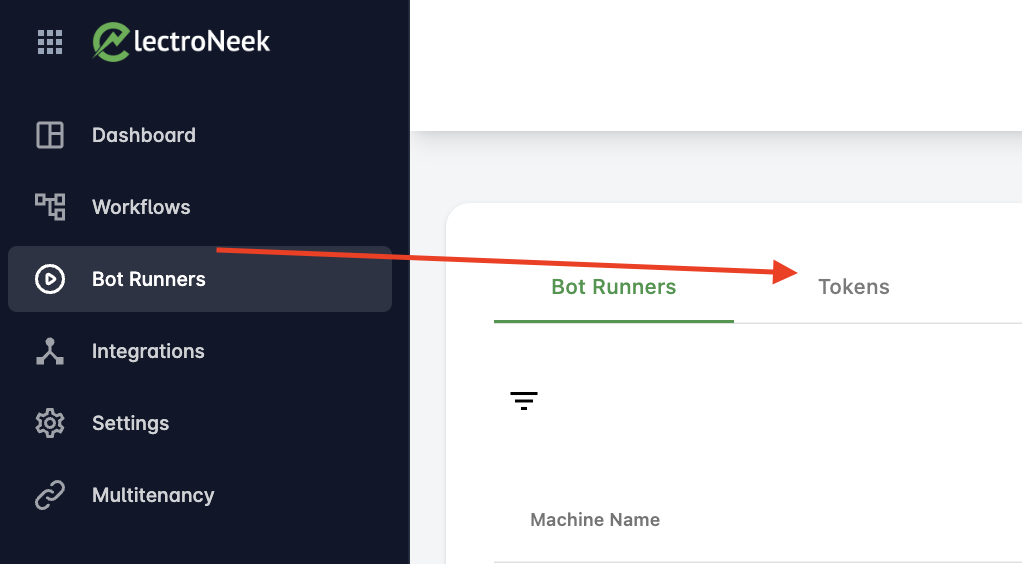
To create a token, go to the "Tokens" page on the Bot Runners Orchestrator page.
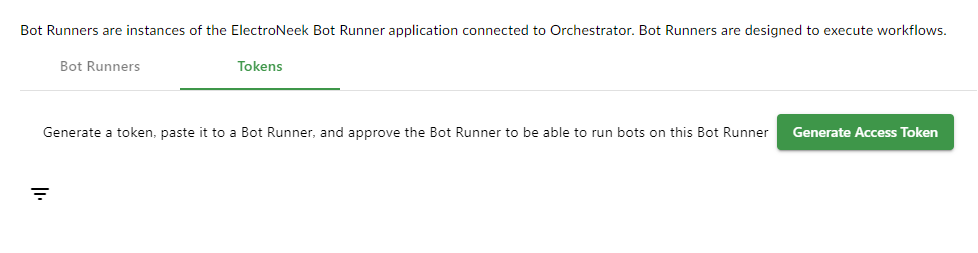
Click on the "Generate access token" button.
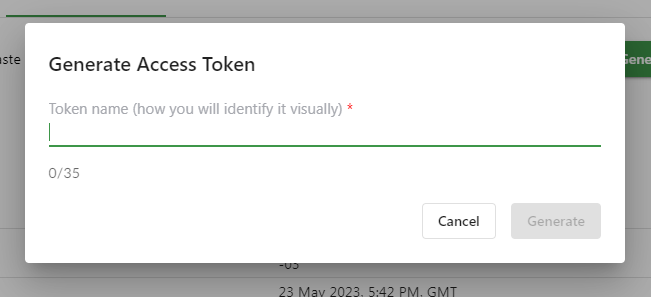
After that you will see a window for creating a token. Enter the name of the token (this is necessary to make the token easier to find in the list) and click "Generate".
Copy the token and paste it into the "Token" field on the Bot Runner Log In page. The Bot Runner is now connected to Orchestrator.

After you have connected the Bot Runner via token, you will need to do one more step. On the "Bot Runners" page in the Orchestrator, you will see the Bot Runner connected, but it will be in the "Not approved" section. To approve the Bot Runner, click on the "tick" symbol.
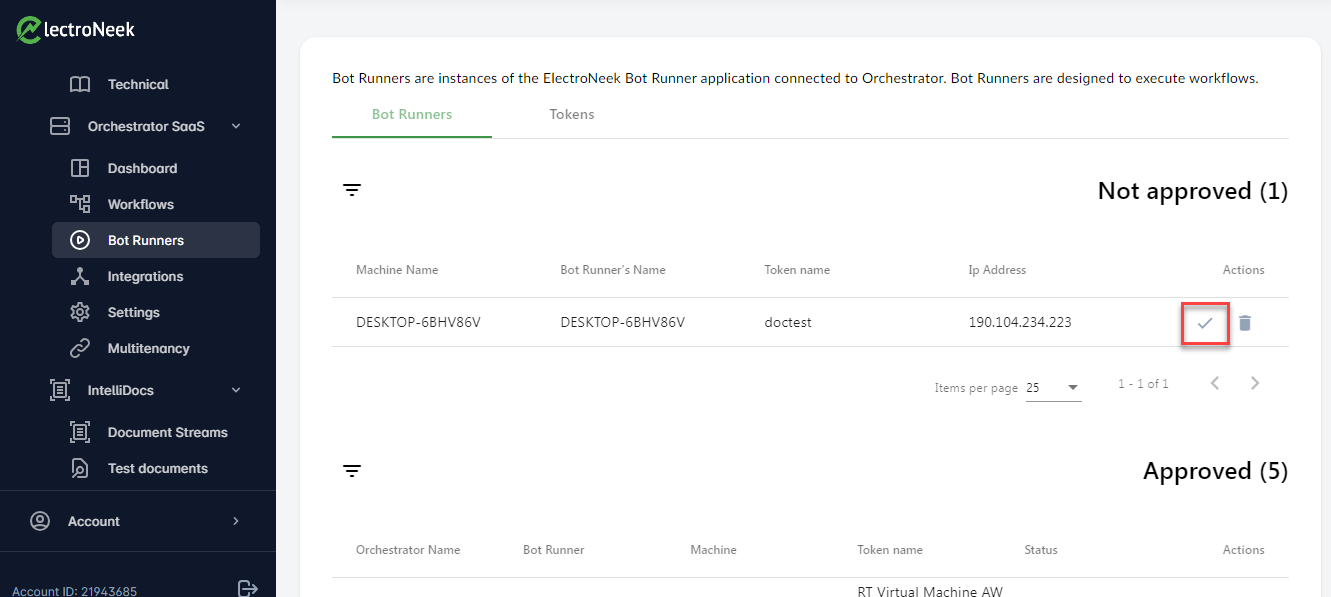
Note
Whenever you connect to a Bot Runner via a token, that Bot Runner will automatically assume a "Not approved" status.
A token that you have already generated cannot be generated or viewed again. Therefore, if you need to distribute a token across multiple Bot Runners, save it.
Multiple Bot Runners can be connected via a single token. However, if you deactivate this token, all Bot Runners connected through it will be deactivated.
RDP Connection in Orchestrator SaaS
Introduction
This functionality makes it possible for Bot Runners to maintain the active RDP session, including multiple console sessions. This is very useful when executing workflows on remote machines because you do not have to interact with RDP sessions in any way - the Bot Runner will maintain an active RDP session in the background.
Prerequisite
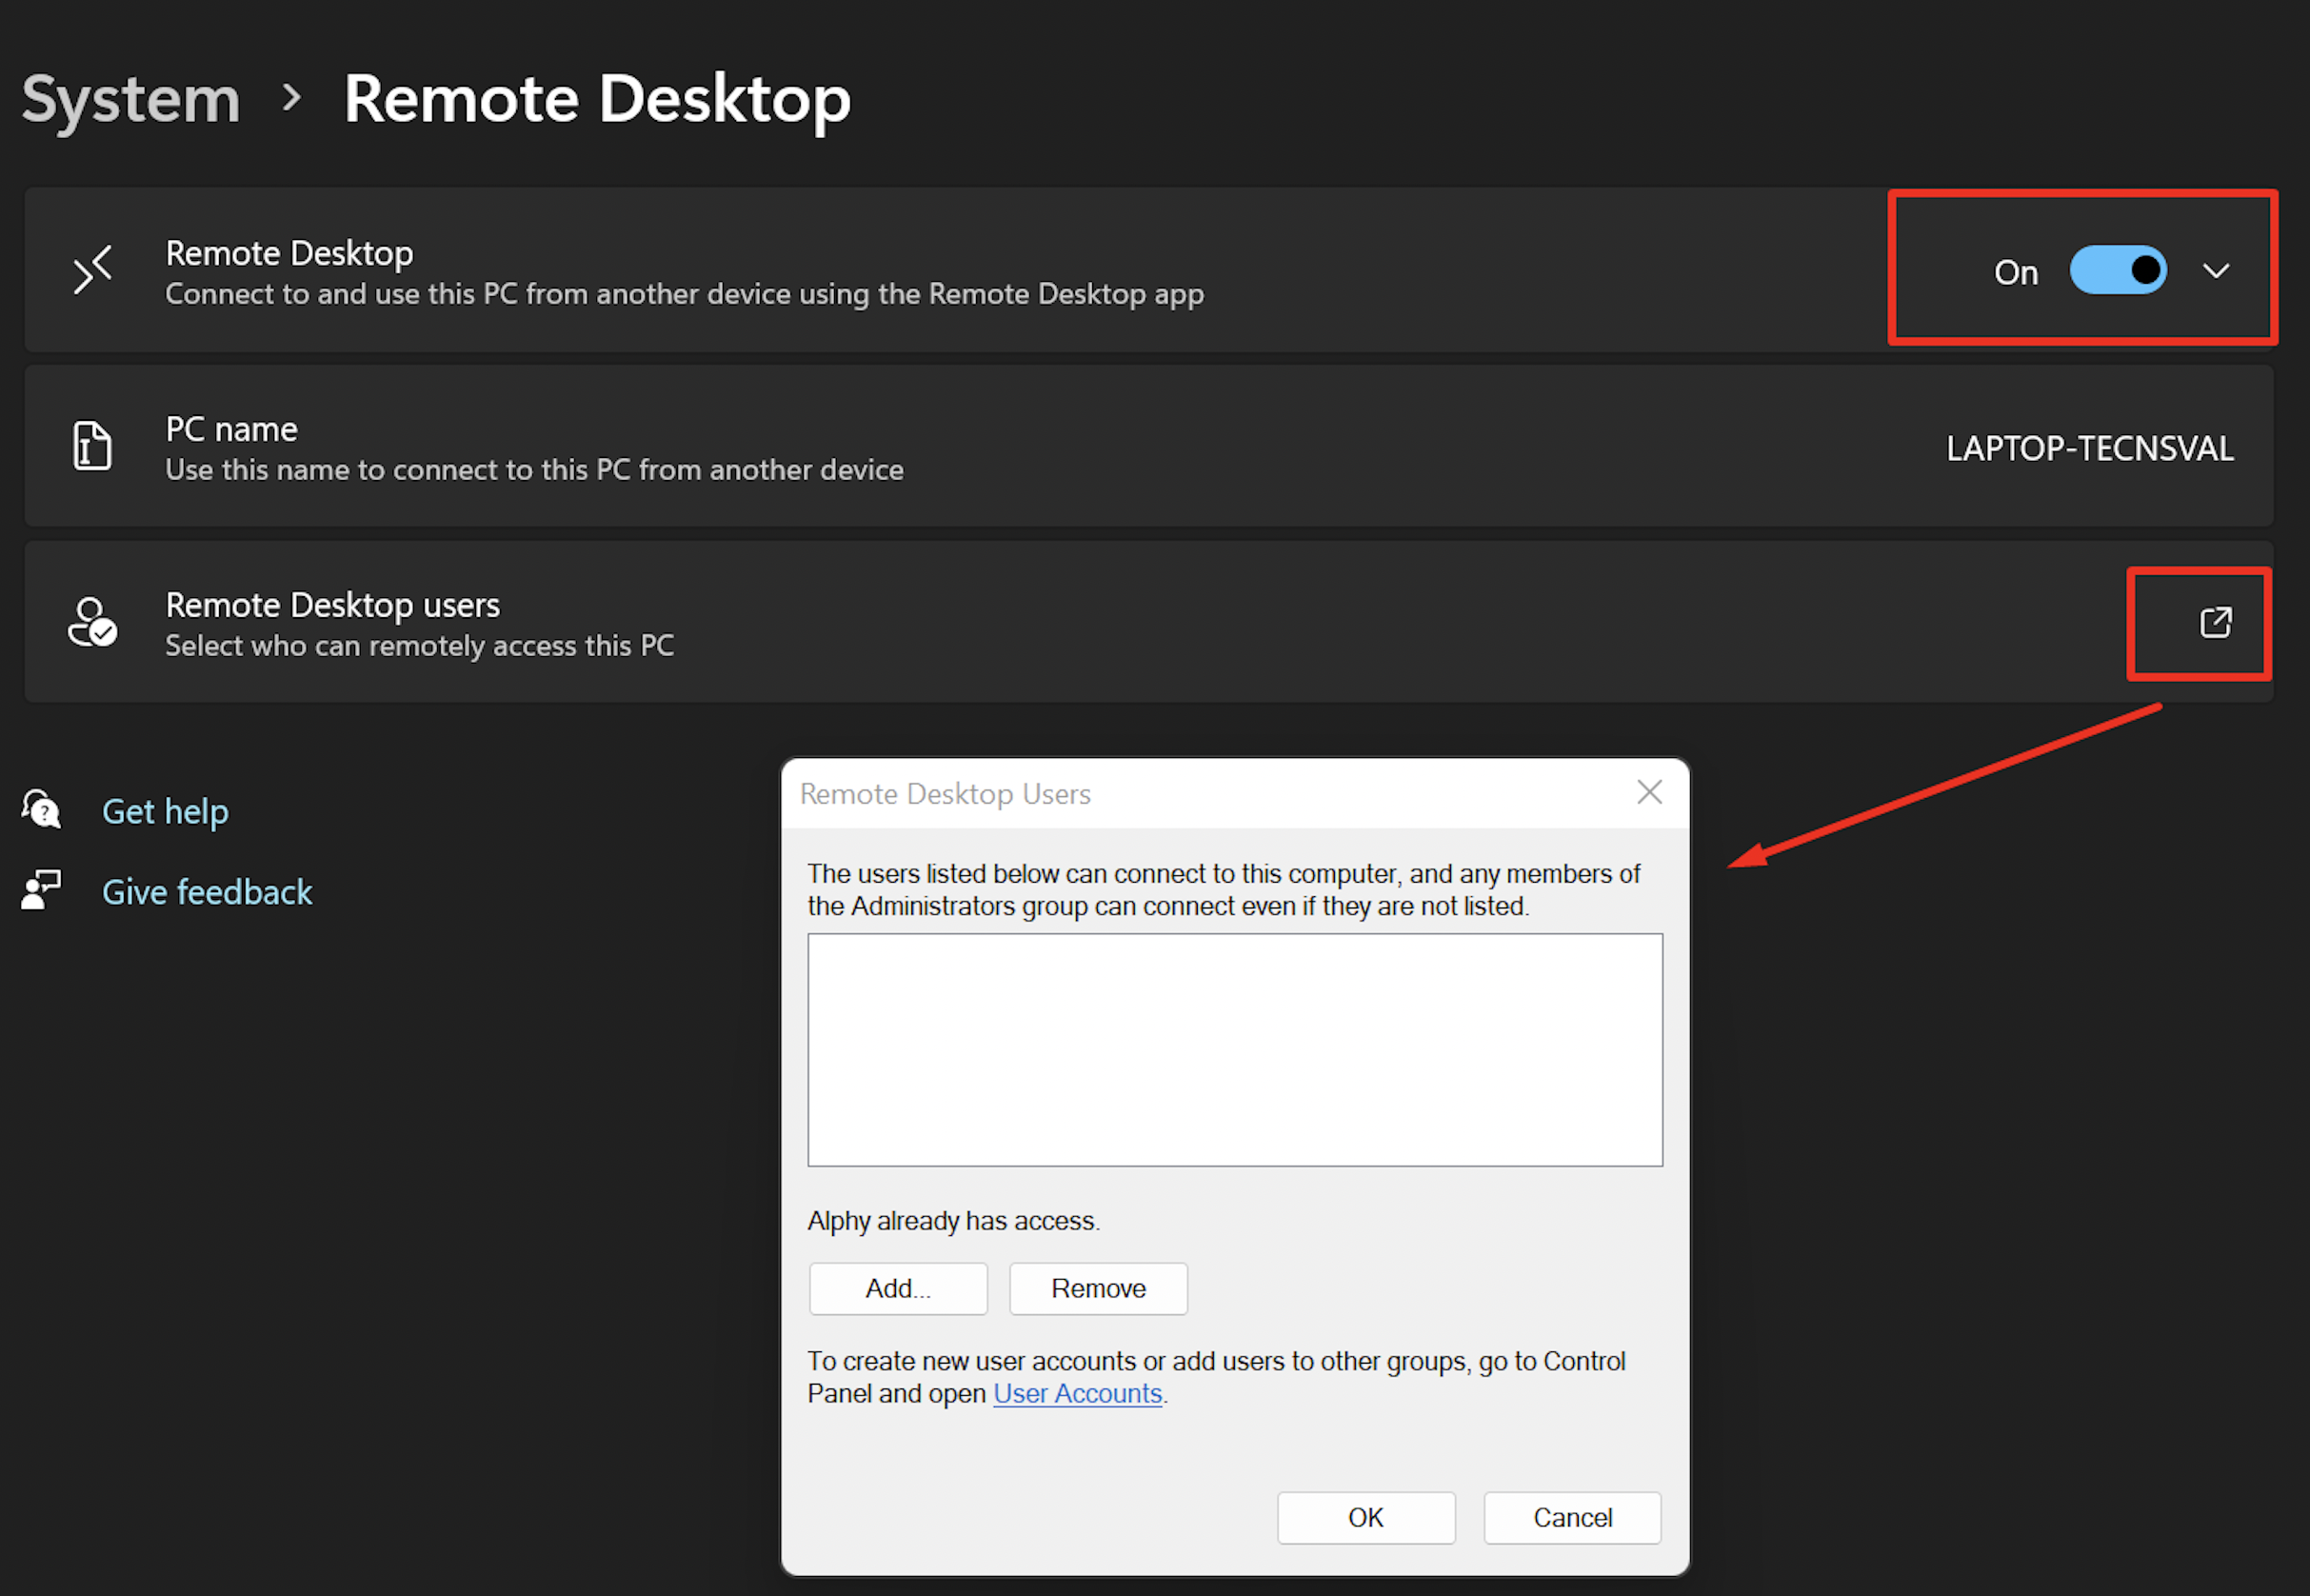
To use this functionality, the virtual machine where the Bot Runner is installed must allow a Remote Desktop connection and it must be online. Look at the following screenshot on how the Remote Desktop connection can be enabled on the machine.
NoteIf the Remote Desktop connection is already enabled, check that the correct IP Address is entered. The following steps will help you obtain the correct IP Address:
- Run the
ipconfigcommand in CMD on the VM/machine.- The IP Address corresponding to the IPv4 Address is the IP Address of the machine.
Also, make sure Bot Runner is online so your bot can interact with the GUI.
Establish an RDP connection
To use the feature, navigate to the "Bot Runners" tab → Click on the desired Bot Runner to open its settings → Navigate to the "RDP Connection" tab.
To establish an RDP Connection:
- Click "Set up Credentials".
- Fill in the required fields:
- Address: IP Address (without port number).
- Username. This field may contain two different formats:
usernameorusername@domain. If one format does not work, please try using the other one.
Password.
- Click "Save".
When the credentials are set, you can test the connection. To do that, click "Test Connection". You will see the connection status. If necessary, you can delete the credentials or change them.
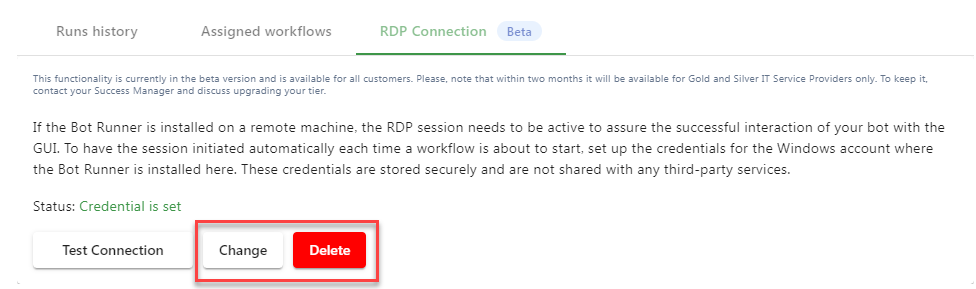
The "Successful" test status means that the connection is established and the Bot Runner is ready to run workflows on a remote machine.
NoteIf you configure the RDP connection in order to launch bots remotely and maintain the remote session active automatically, we store the credentials in a secure encrypted vault hosted on our end. If you use credentials directly in your bots, for example, to access a third-party system as a part of the workflow, then such credentials are safely stored by means of Windows Credential Manager.
How to deal with CAPTCHA
Description
Nowadays solving CAPTCHAs on websites is an extremely common but monotonous task. Thus, it can be automated using bots. For this reason, an automatic captcha solver has been implemented in Orchestrator SaaS.
Anti-Captcha is a feature that solves Google ReCaptcha for any Web Automation activities. Interaction with ReCaptcha is not needed, it will be defined on the page and solved automatically.
NoteOnly the users with Owner and Billing contact roles have access to that page.
Types Supported
- ReCaptcha V2
- ReCaptcha V2 Invisible
- ReCaptcha V2 Callback (can define on the page and solve, but not execute callback)
- ReCaptcha V3 (can define on the page, but not solve)
How to set it up?
Studio Pro implements an automatic algorithm for solving CAPTCHAs and is available to all users by default. You can find the anti-CAPTCHA feature on the "Billing" page of the User Portal. To access it, expand the Account option and click Billing. On the page, scroll down until you see the Anti-CAPTCHA add-on.

How to use it?
- Create a project that uses a web page with ReCaptcha V2. Here's an example.
- Then go to Settings, Project, Anti-Captcha and turn it ON.
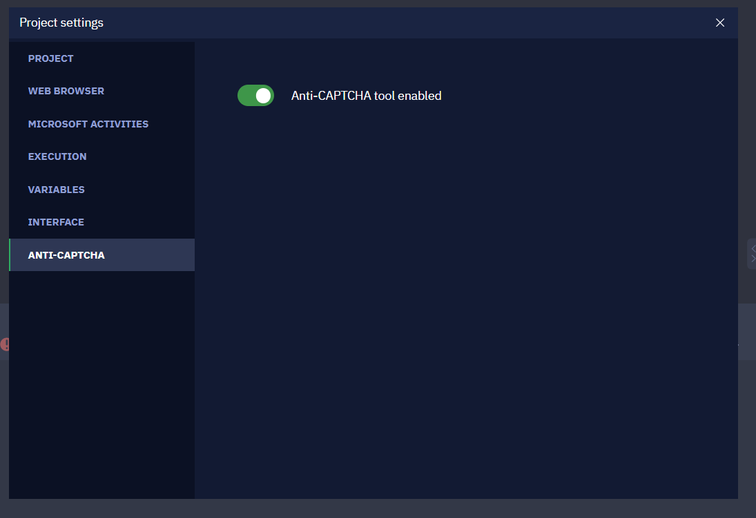
NoteAnti-Captcha is a property of the Project Settings, which means that the user can set it for each project individually.
Our Captcha solver launches automatically when a bot interacts with your web browser, for example by the "Open URL" activity. Therefore, you do not need to perform any additional actions with the bot. However, if problems arise while solving the captcha, the bot will try to solve the captcha three times. If the bot still cannot solve the captcha, the workflow will follow its actions according to the logic.
If several web pages have been opened, only the last opened page with the captcha will be solved.
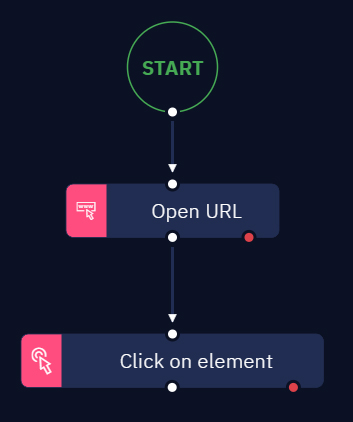
As an example, take the following workflow: the bot opens the https://www.google.com/recaptcha/api2/demo page and clicks the "Submit" button.
When a bot is running, in the status window you can see the Anti-Captcha activity running with a message that reads Solving CAPTCHA...This is useful especially when the workflow takes a long time to be completed.
WarningFor versions less 8.7.10 anti-captcha is NOT supported
How to connect another tenant to your Orchestrator or give access to your Orchestrator
Introduction
The multitenancy feature allows you to control bots from other Teams in your interface or to give access to your Orchestrator so that another Team can manage your bots within their interface.
In this article, we will explain how you can connect another tenant to your Orchestrator to manage their bots within your interface and how to give access to your Orchestrator so you become a tenant.
How to Connect
In order to connect another Orchestrator, you need to be provided with a key generated by the Team to which the other Orchestrator belongs. Once you have the key, perform these steps to connect another tenant:
- Log in under your account to https://electroneek.com/account
- Make sure that you have a new version of the portal (6.0 or higher).
- Go to the "Orchestrator SaaS" page.
- Go to the "Multitenancy" page within the Orchestrator SaaS product.
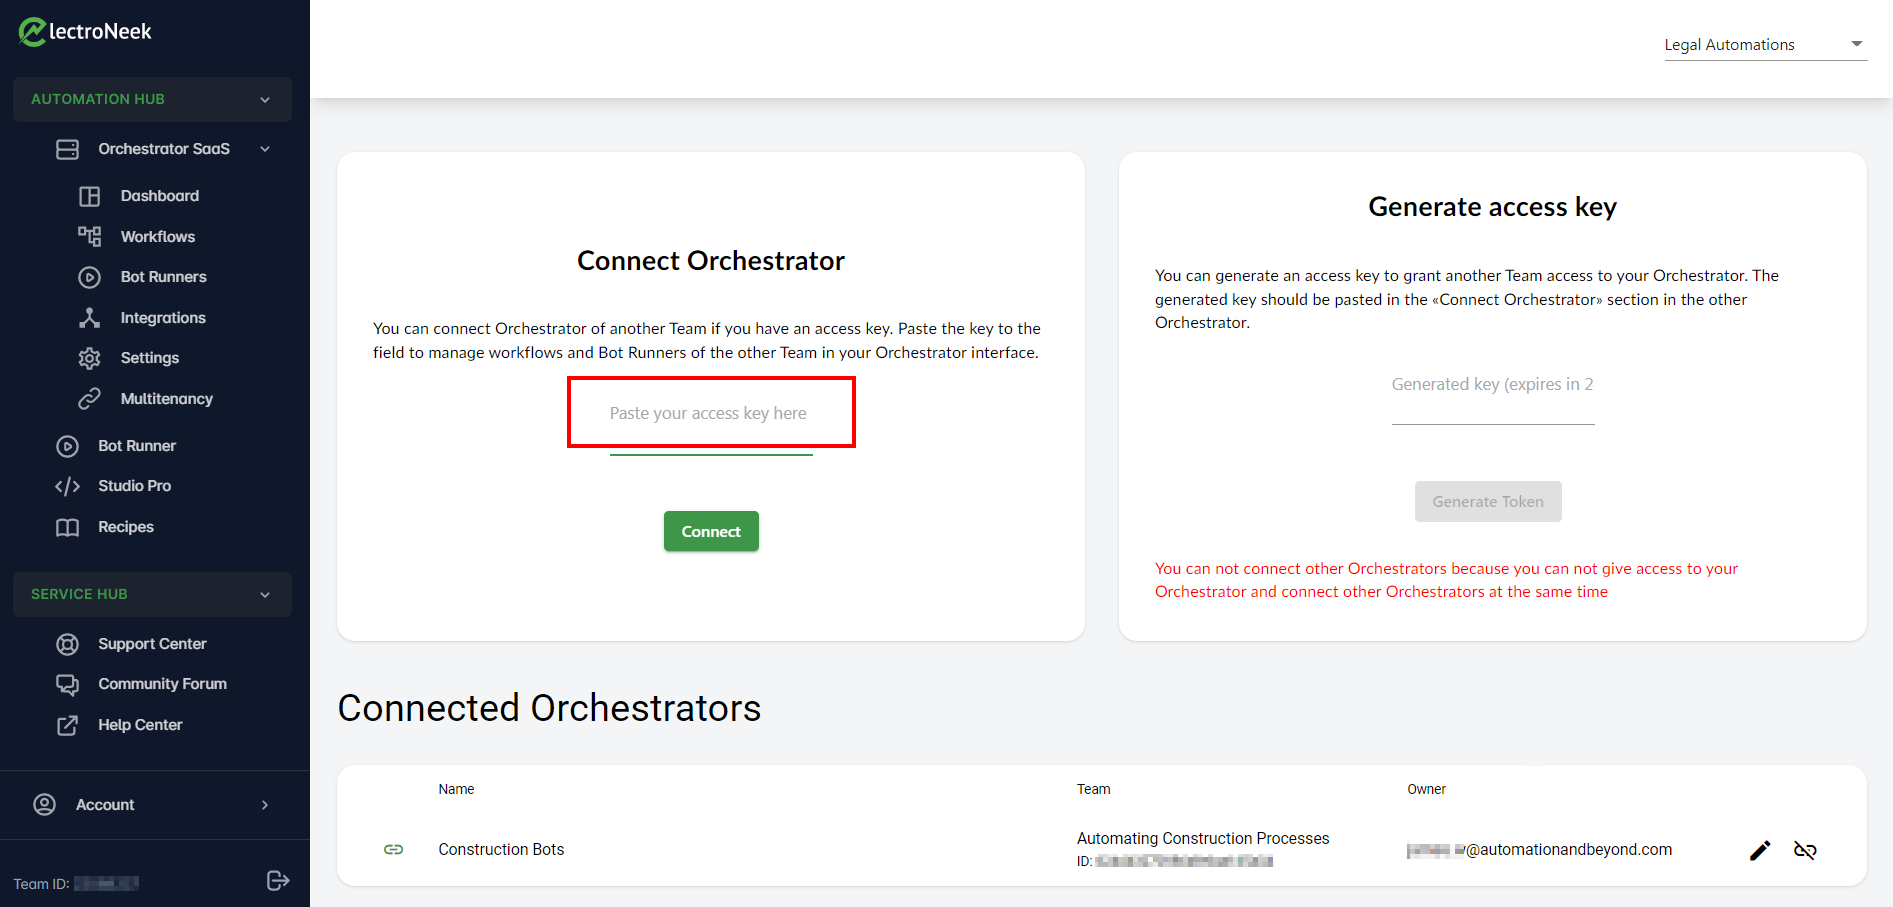
- Paste the key provided to you by the other Team to the "Paste your access key here" field of the "Connect Orchestrator" card and press "Connect".
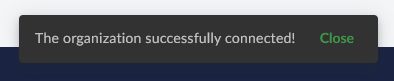
- You will see a notification at the bottom of the page that the other Orchestrator has been connected successfully. You may press "Close".
- In the "Connected Orchestrators" card, you will see a table with a list of connected Orchestrators.
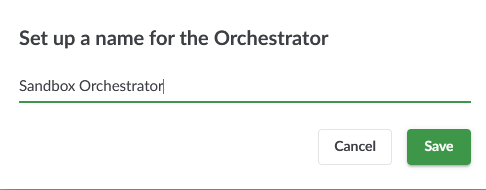
- By default, when a new Orchestrator is connected, it takes a standardized name such as "Orchestrator 1". We recommend you to change the name to any desired one so that you can easily identify this Orchestrator afterwards. For that, click on the "Edit" icon in the table row and type a name in the opened popup window. Click "Save" to exit.
How to Disconnect
If you want to disconnect a connected Orchestrator, then:
- Proceed to the "Connected Orchestrator" table.
- Find the Orchestrator you want to disconnect and click "Unlink".
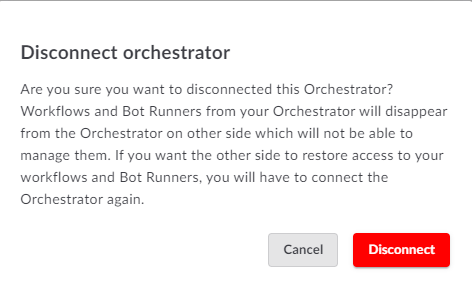
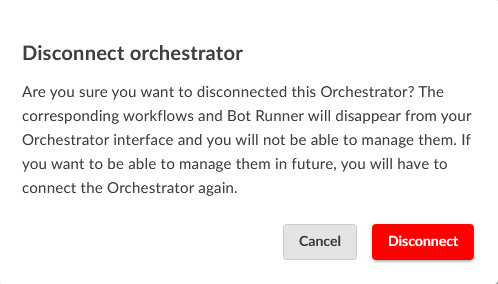
- You will see a popup window explaining the details of the operation
- Click "Disconnect".
Managing Bots
If you want to manage bots or Bot Runners of connected Orchestrators, you need to go to either the "Workflows" page or the "Bot Runners" page depending on what you need. In the tables, you will be able to filter bots and Bot Runners by the Orchestrator name. If you see "My Orchestrator" in the tables, then these bots or Bot Runners are related to your own Orchestrator. If you see another name, for example, "Sandbox Orchestrator" from the previous example, then such bots and Bot Runners are related to the Orchestrator of the other Team.
You can perform all the same operations with the connected Orchestrators:
- Publishing bots to the connected Orchestrators from Studio Pro.
- Deleting bots and Bot Runners from the connected Orchestrators.
- Managing schedule of the bots from the connected Orchestrators.
However, you will not be able to assign Bot Runners to bots of a different team. It means that you can't assign a Bot Runner from your Orchestrator to a workflow that belongs to another Team. This is made to ensure the data doesn't interfere with the data from another company.
How to give access to your Orchestrator
If you are client and your automation is run by a managed service provider, you will want to give access to your Orchestrator so the managed service provider could manage your bots within their interface which increases the productivity, efficiency, and speed of automation management.
To give access to your Orchestrator:
- Log in under your account to https://electroneek.com/account
- Make sure that you have a new version of the portal.
- Go to the "Orchestrator SaaS" page.
- Go to the "Multitenancy" page within the Orchestrator SaaS product.
- Click "Generate key" on the "Generate access key" card.
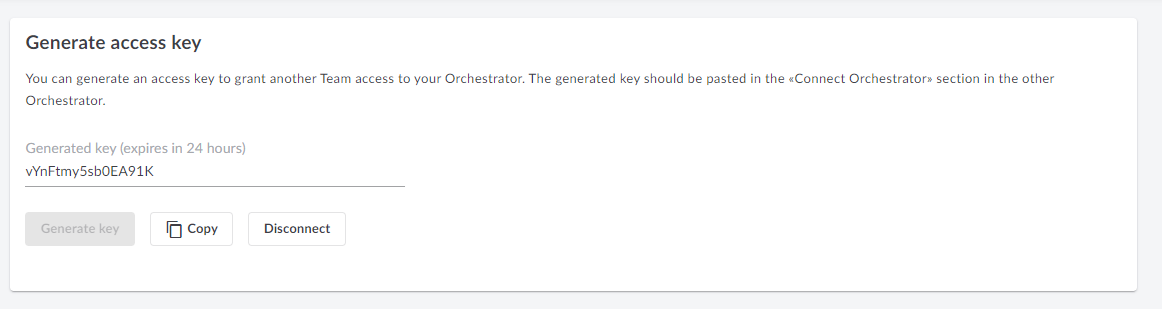
- Pass this key to your managed service provider so that it can be connected in the way described above.
- The key can be activated within 24 hours starting from the time of generation. After 24 hours it expires so it can not be activated anymore. You'll have to generate a new key if you still want to give access to your Orchestrator.
If you want to disconnect your Orchestrator from the managed service provider:
- In the "Generate access key" card, click "Disconnect".
- You will see a popup window explaining the details of the operation.
- Click "Disconnect".