How-tos: Email
Using HTML
When working with Email activities, you have the flexibility to format your email's content using HTML tags. These tags enable you to style text, insert images, include links, and achieve various formatting effects. This article provides guidance on formatting text within the body of an email.
Using HTML Tags for Email Formatting
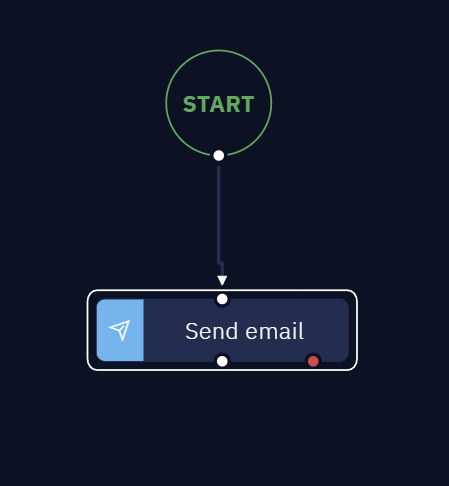
- Begin by adding the "Send email" activity to your workflow.
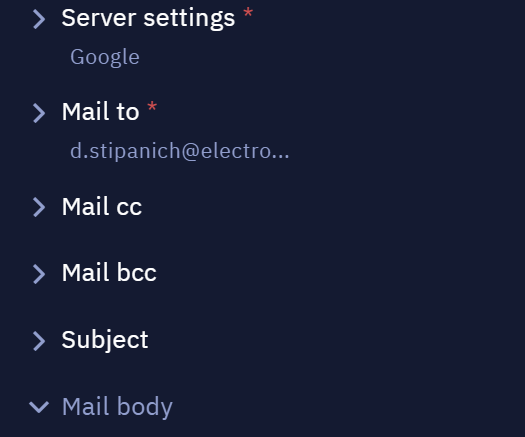
- Insert your email configuration.
- In the body of the email, all text formatting must be defined using HTML tags. Here's an illustrative example:
<strong>Hello</strong> <i>Mr. John</i><br><em>Your assistance is requested now!</em><br> Please contact me at your earliest convenience.<br> Phone: (222) 344-3490<br> Email: <a href="mailto:[email protected]">[email protected]</a>- The result will look like this:

NoteEnsure that your HTML code is properly formed and valid. The presence of invalid characters or unjointed code lines might trigger the "Invalid or unexpected token" exception.
Attaching Dynamic Images
Description
A typical use case is to attach images in the body of the email when sending it. In this article you find the steps to dynamically insert images into the body of an email.
Instructions
Here are the steps:
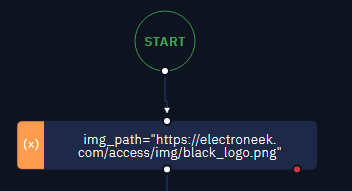
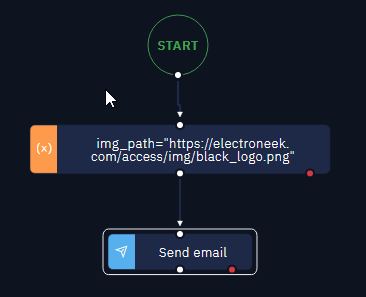
- Use the Assign value to variable activity to create a variable that will contain the path of the image you want to attach in the body of the email. Here is an example:
mg_path = "https://electroneek.com/access/img/black_logo.png"
- Use the Send email activity to send the email
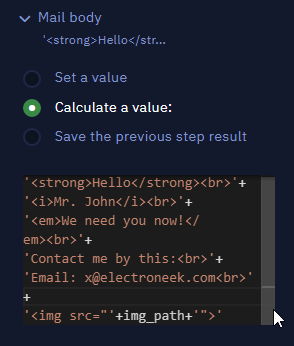
- To attach an image to the body of the email, add the following HTML tag to the “Mail body“ section:
'<img src="'+img_path+'">'
Note that img_path is the variable defined in step 1. The final mail body must look like this:
TipYou can add more parameters to the
<img>tag accordion to the HTML definition:<img>: The Image Embed element - HTML: HyperText Markup Language | MDN
The final implementation looks like this:
Using multi-factor authentication in Microsoft emails
Description
If your Microsoft account is set for two-factor authentication, you need to use the app password in order to interact with it. For more details, read the information provided on this webpage: Manage app passwords for two-step verification - Microsoft Support.
In this article, we show how to manage this Multi-factor authentication method using Office 365 Portal. Check it out!
Instructions
Follow these instructions to create app passwords:
- Sign in to your account → Go to the My Account page → Click "Security info"
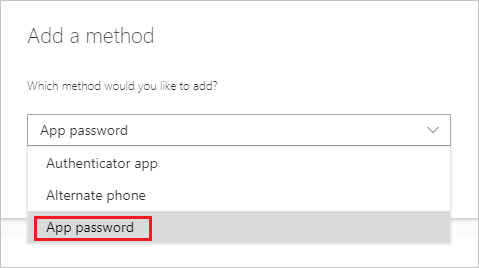
- Select "Add method" → choose "App password" from the list → Click "Add"
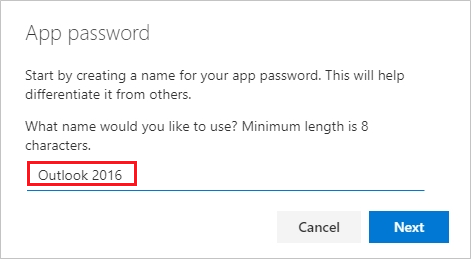
- Enter a name for the app password, and then click "Next"
- Copy the password from the "App password" page → Select "Done"
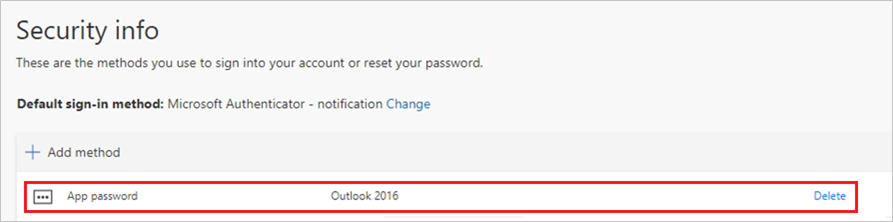
- On the "Security info" page, make sure your app password is listed
After that, you may use the app password in place of your current Password. The login is still the same.
Done! Now you are able to deal with Multi-factor authentication in Microsoft emails. Want to know more to improve your workflows? Take a look at our article about the Read Emails activity for MS Office!
Attaching Several Documents
Description
On some occasions, we may need to attach more than one file to the emails we send in an automated process.
Here's how to do it in just three steps.
Instructions
-
Add the Send Email activity to your workflow
-
Navigate to the attachments section
-
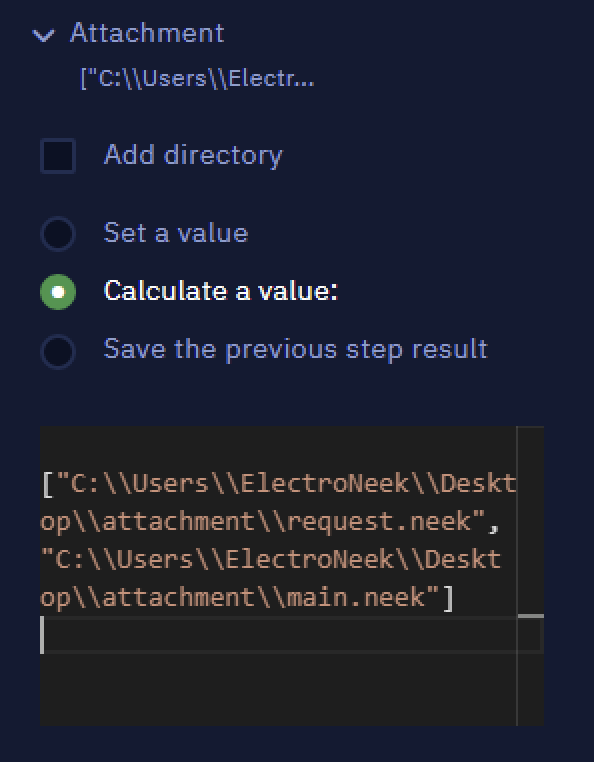
There, click on the "Calculate a value" option
NoteThe important thing about attaching multiple files is to define a list of strings, where each string represents the path to each file you want to attach. For example:
1["C:\\Users\\ElectroNeek\\Desktop\\attachment\\request.neek","C:\\Users\\ElectroNeek\\Desktop\\attachment\\main.neek"]This way, when you send an email using a bot, every file in the list is included as an attachment.
Saving a table to an Excel file
Description
There are instances when we are interested in extracting a table from an email and saving it as an Excel file. Currently, the Outlook > Read emails activity alone returns a key-value pair that contains the HTML data of the read email.
We can use this HTML data to save the table as an Excel file. In this article, we show you how to do that.
Instructions
Read the email using the Outlook > Read email activity
Save the HTML data of the email as an HTML file using the Create file activity
Convert the HTML file to an XLSX file using the Execute Python activity
Embedding Images
Description
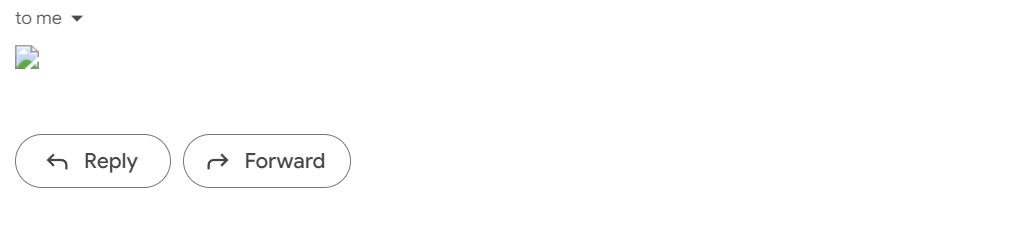
If you try to embed an image in the "Mail body" parameter using the HTML tag — such as <img src="https://electroneek.com/access/img/logo-electroneek.svg"> —, it is possible that an email client (such as Gmail) does not display the image. The result can look like this:
Whereas, other email clients (such as Outlook) may behave properly:
In this article, you will learn how to solve that issue.
Instructions
- Choose the image you want to embed in the mail body
- Upload it to Google Photos
- Once done, click on the "Share" icon and select the "Create link" option
- Open the copied link in an incognito tab
- Now, click on the image
- Once done, right-click on the image and select "Copy Image Link"
- You will get a URL similar to the below one:
https://lh3.googleusercontent.com/pw/AL9nZEXkoNq2s6xwfkR5sxnuyCS1OSBRm1PtNZa11Tv_0hWVM4wkeEg0hzMbTu4CS_UzNC-VQ66G625-oxIEg97bP-YBYT2SFO5EDbes208l-RIlFUyP5AwOLuucjtPTfRjlXGF5_P0AKe9OReOmueem9Ic=w1510-h973-no - Use the URL within the HTML tag
<img>. Here is an example with the URL above:
1[imgsrc="https://lh3.googleusercontent.com/pw/AL9nZEXkoNq2s6xwfkR5sxnuyCS1OSBRm1PtNZa11Tv_0hWVM4wkeEg0hzMbTu4CS_UzNC-VQ66G625-oxIEg97bP-YBYT2SFO5EDbes208l-RIlFUyP5AwOLuucjtPTfRjlXGF5_P0AKe9OReOmueem9Ic=w1510-h973-no">
Now you can normally use the HTML tag within the "Mail body" parameter and Gmail will be able to display it properly.
How to add an attachment dynamically
In various scenarios, you might find it necessary to send emails with different attachments each time. This article will walk you through the process of dynamically attaching files to emails.
Instructions
- Add the "Assign Value to Variable" activity to our workflow.
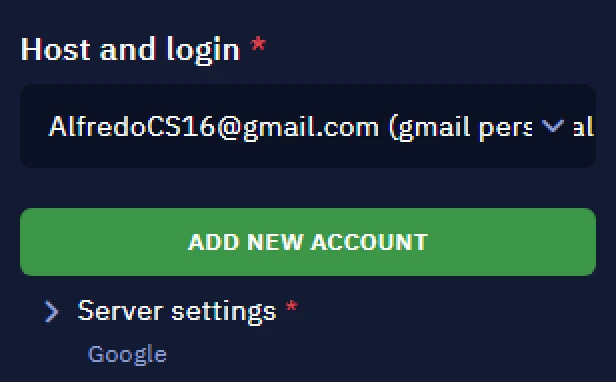
- Set Email Credentials and Server Settings. To review how to set credentials and email server settings, you can refer to this article.
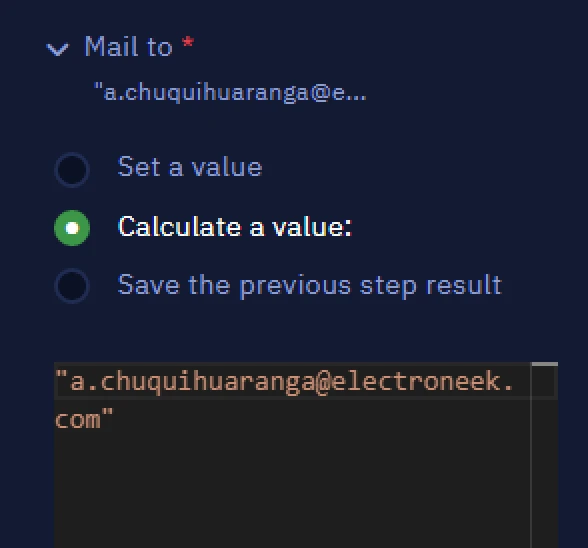
- Specify the recipient's email address in the "Mail To" parameter.
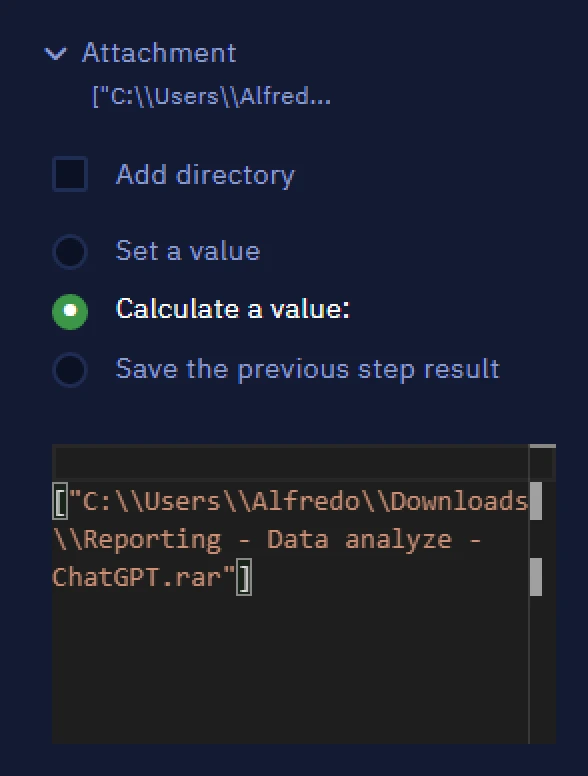
- To dynamically Attach Files. go to the set the "Calculate a value" option in the Attachment parameter. Input an array of strings, where each string represents a file's path that you want to attach. For example:
["C:\Users\Alfredo\Downloads\Reporting - Data analyze - ChatGPT.rar"]