
How-tos: Arrays
v1.0
View
Edit
My Developers
Documentation
Recipes
API Documentation
Release Notes
Custom Pages
Pages with invalid MDX (5)
New Page
Markdown
How-tos: Arrays
Calculating the length
Description
While developing a workflow, there is a very common scenario where we want to calculate the length of an array. That is needed to determine, for example, how many times a loop should be executed.
In this article, let us see how to calculate the array length in Studio Pro.
Instructions
We can calculate the length of an array using the length property. To do that, follow these steps:
-
Having the array in your canvas, add the Assign value to variable activity
-
Set the variable name as you wish. In this example, it is "array_size"
-
Set the "Variable value" parameter as "Calculate a value"
-
Add the
variable name + .lengthcommand. In our example, it must befruits.length.
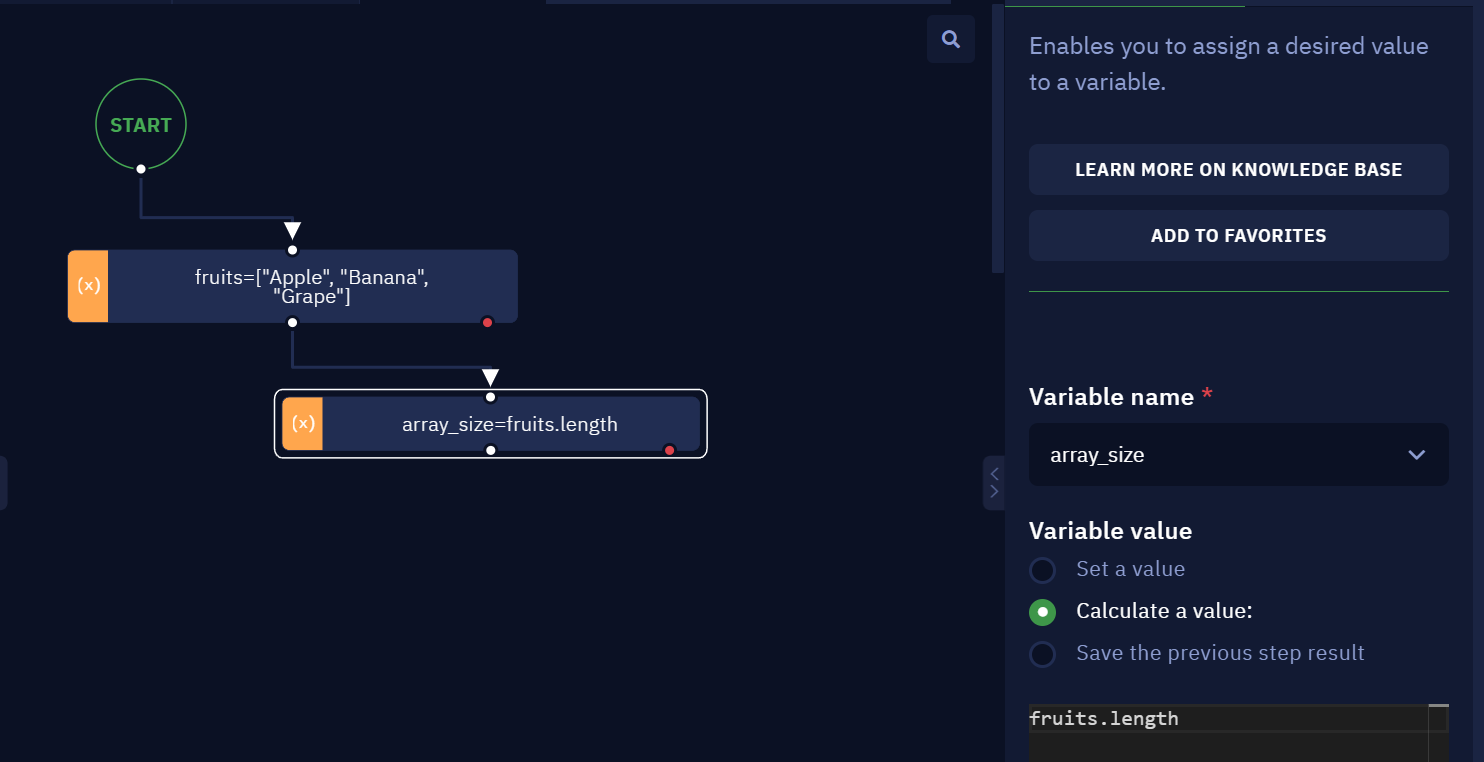
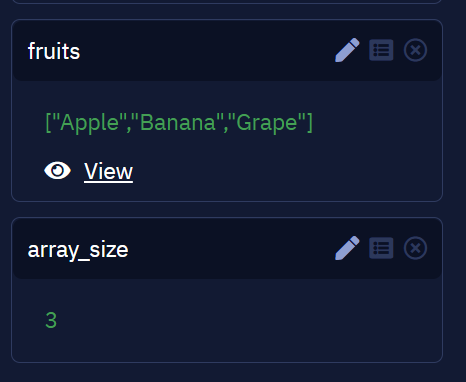
As you can see, the resulting variable has the length of the processed array.
Getting the index of an element
Description
When working with objects containing arrays, it may be necessary to know the index of an object. You can apply different JavaScript methods to uniquely identify them based on their properties and then access their indices.
In this article, you will learn how to get the index of an object in an array.
Instructions
Find Index of Object with Map and indexOf() Method
The map method is used to apply a function on each item of the array, transform it and then return it inside another array. We can use this method to get specific properties of objects which we use to identify the objects themselves. Once we identify the object that we want to know the index of, we can just call the indexOf() method.
Look at the steps to perform this action:
-
Save an array in a variable. For example:
*employees =[{firstName:"John", lastName:"Doe", age:38}, {firstName:"John", lastName:"Smith", age:45}][{firstName:"John", lastName:"Doe", age:38}, {firstName:"John", lastName:"Smith", age:45}]* -
Check if each object has a property with a specific value
-
Using the Calculate a value option, use the map function to get the key/value in a separate array
employees.map(item => item.age).indexOf(45)
- Save the result in a new variable.
Find the Index of an Object with findIndex() Method
The findIndex() method takes a function containing a test as an argument and applies it to each element of the array without making any changes to the original array. It then returns the position of the array element or -1 if no element passes the test.
Look at the steps to perform this action:
- Save an array in a variable. For example:
*employees =[{firstName:"John", lastName:"Doe", age:38}, {firstName:"John", lastName:"Smith", age:45}][{firstName:"John", lastName:"Doe", age:38}, {firstName:"John", lastName:"Smith", age:45}]*
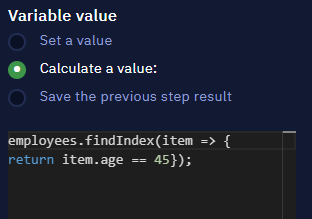
- Using the Calculate a value option, use the findIndex() method to get the key/value in a separate array.
employees.findIndex(item => { return item.age == 45});
NOTEThe findIndex() method can also take the index of the current element and the array of the current elements as optional arguments. The findIndex() method applies the conditional function to each element of the array itself and then returns the index of the one which passes the condition. But when we are using the indexOf() method, we also have to use the map() method to get the property values.
Converting a string to JSON
Description
When we use JSON data generated by a Python script, we must keep in mind that they may contain additional backslashes in them. Hence, these data cannot be directly used in Studio Pro for processing.
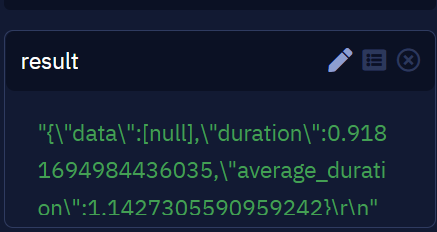
In this article, you find an easy solution to solve this situation, so you can work with the JSON file successfully.
Instructions
To remove the backslashes from the JSON data returned by the Python script, do as follows:
- Using the Create file activity, create a JSON file and write the JSON data to it.
- Next, use the Read text file activity with the "File type" selected as JSON.
- Run the workflow.
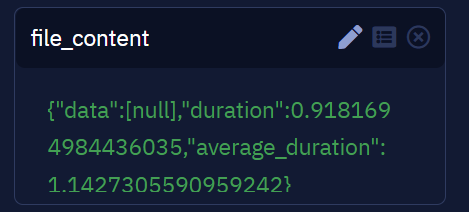
Check the newly created JSON file. Notice that the data is read properly without any backslashes.
Deleting Values from Arrays
Description
There are scenarios in which we want to delete a specific item from an array or delete all the items in the array before proceeding with the next activity. In this article, you will learn how to delete values from an array in Studio Pro.
Instructions
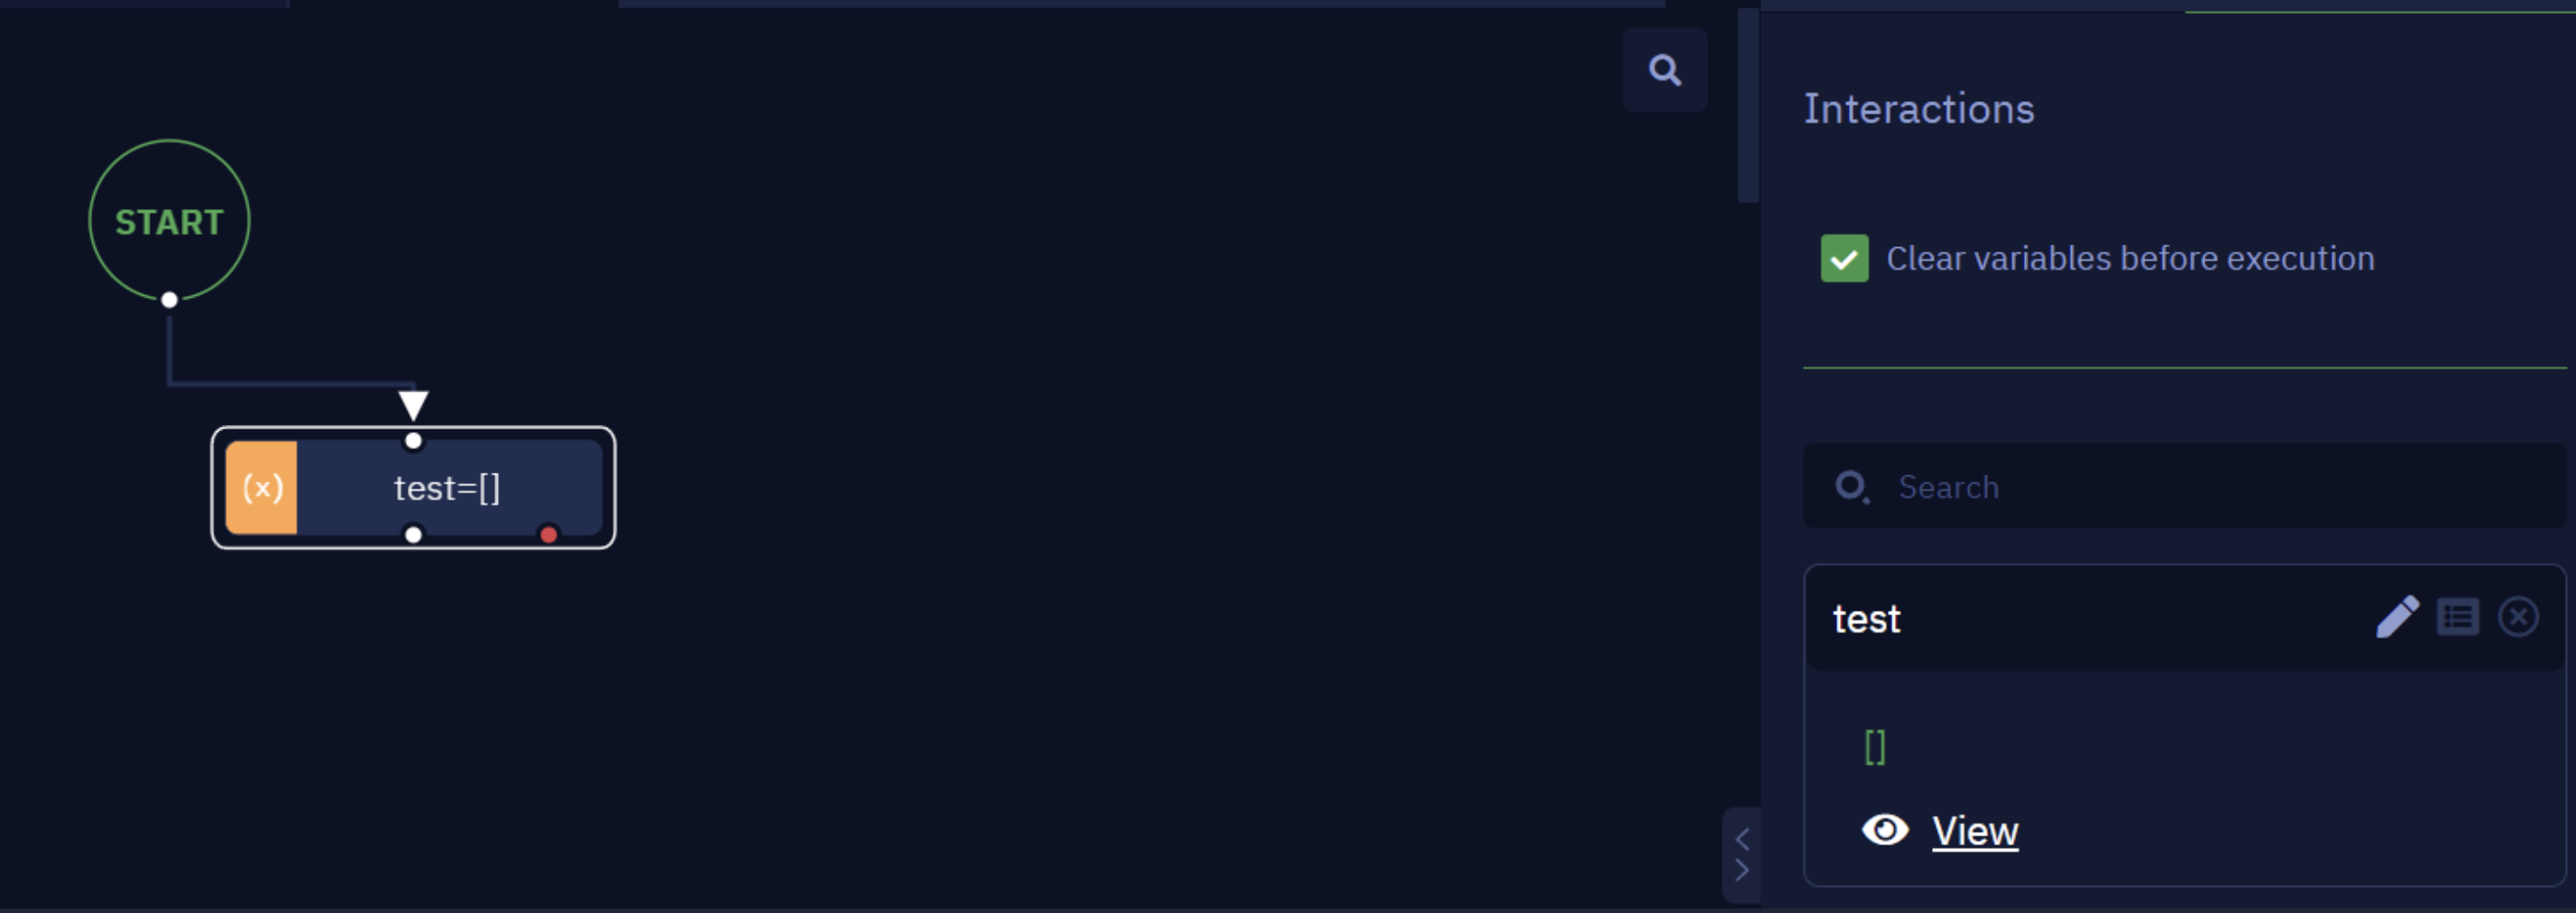
If you want to delete all the values from an array, then you can do as follows:
Existing array:
Specifying the value [] deletes all the values from the array.
If you want to delete an element from a specific index in an array, you can use the Execute JS code activity to do it.
Existing array:

If you want to delete the value ‘Orange’ from the above array, do as follows:

Notice that this command is made up of 3 elements: the array name, the JS method splice, and the coordinates of the item to be removed, where splice() is used to delete an element from a specific index. After running the workflow, you have the modified array:
Creating Arrays with Values
Description
In this article, you will learn:
- how to create an array to be used in a workflow.
- two options for adding values to this array.
Instructions
Creating an array
Here’s how to define and declare arrays in Studio Pro:
-
Use the Assign value to variable activity.
-
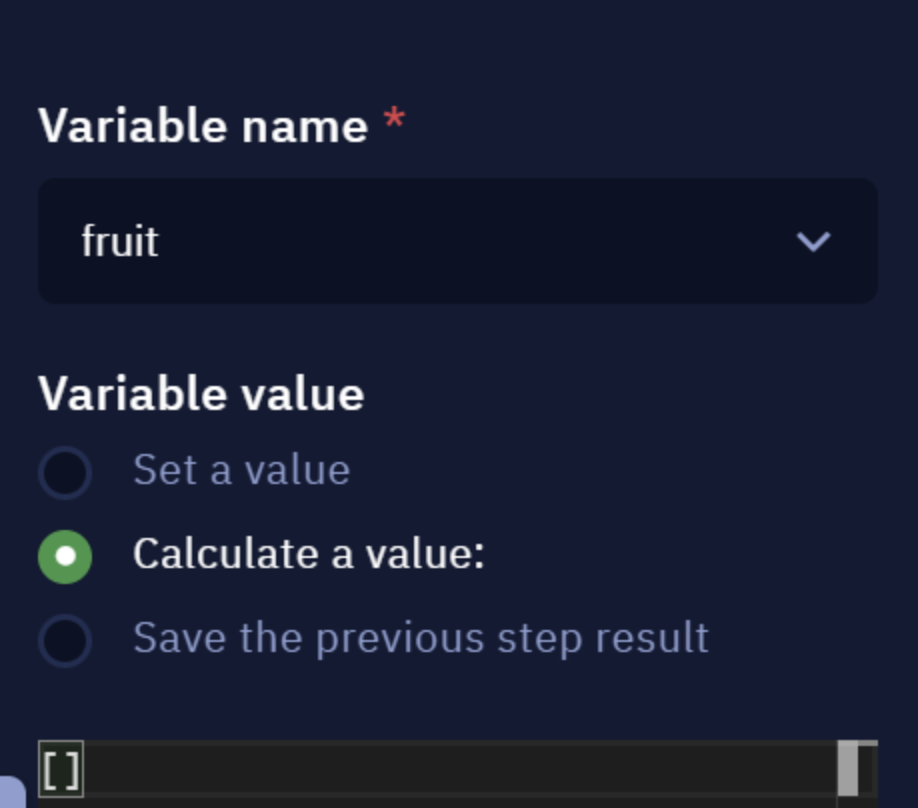
Into the "Variable value" parameter, select "Calculate a value".
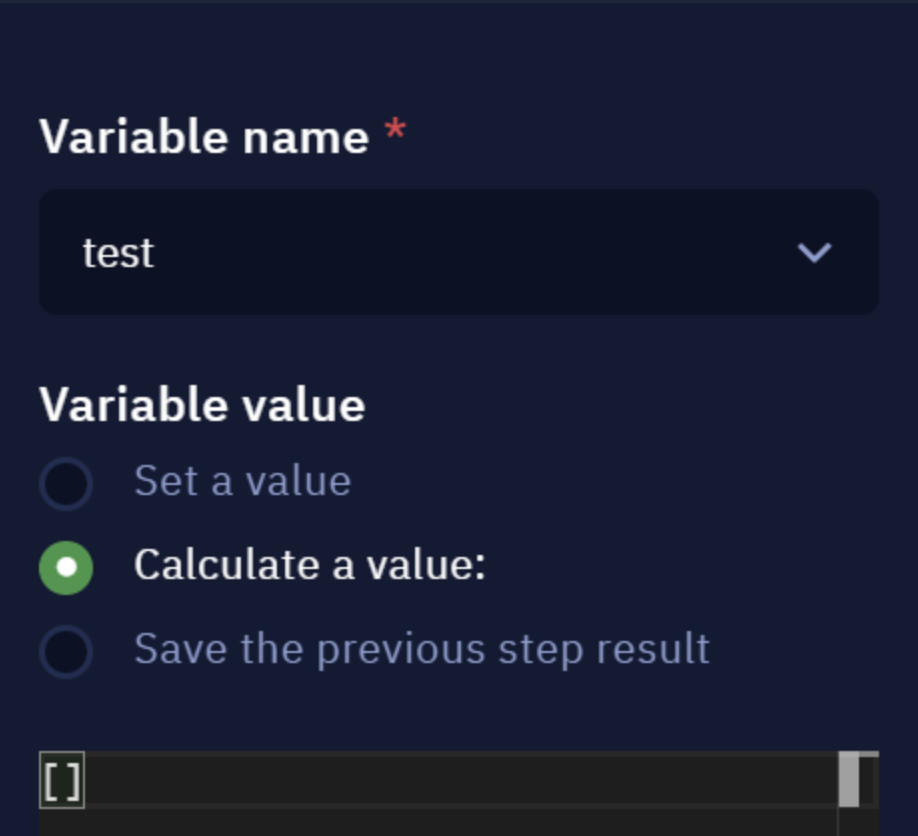
-
To create an empty array, enter the
[]value as shown in the following screenshot:
Now, let us see two ways of adding values to an array.
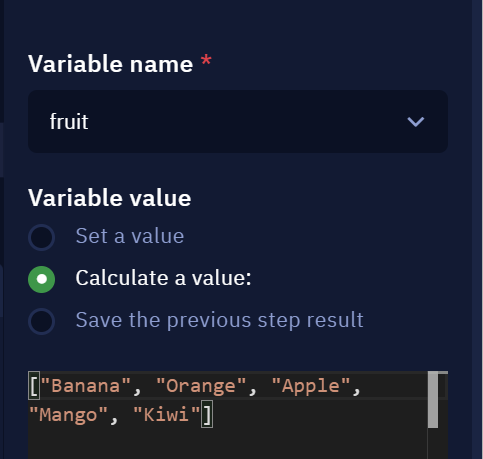
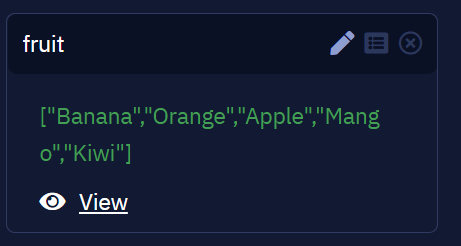
Creating an array with values
When creating an array, you can add variable information into the brackets using this format: ["value1", "value2", "value3", "etc"]. Here's an example:
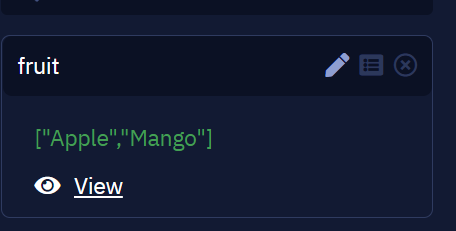
Pushing values into an existing array
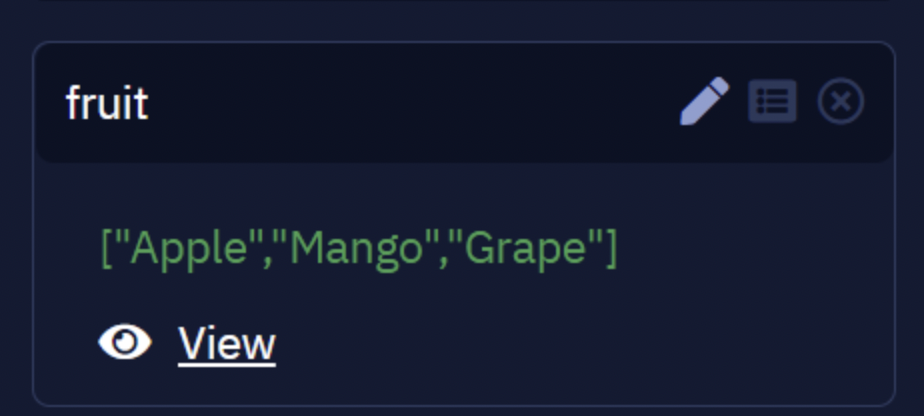
If you have already created the array, use the Execute JS code activity. Let us assume that you have an array called "fruit" with values "Apple" and "Mango", as follows:
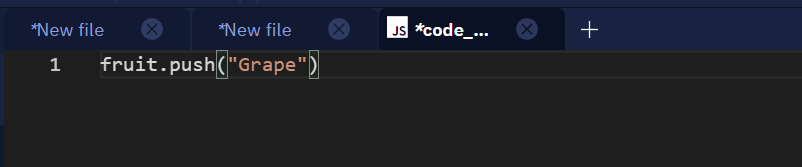
Use the Execute JS code activity to run the command fruit.push() and fill the parenthesis with the desired value. For example, fruit.push("Grape"):
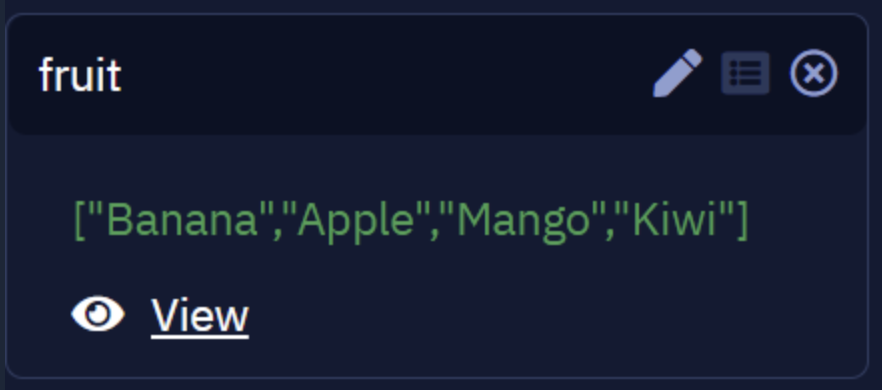
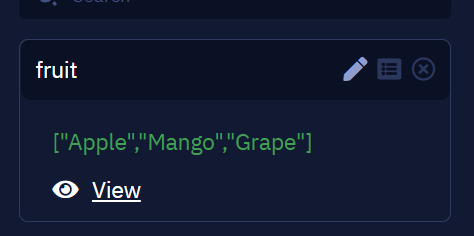
Now you just need to execute the workflow — and it's done! You have an extra value in the array:
Save